The Compose Experience and Bulk Email Operations
Overview of the Compose Tab Elements : To, Cc, and Bcc Fields.
-
To: The main recipient(s) of the email.
-
Cc (Carbon Copy): Recipients who should be informed but are not directly involved.
-
Bcc (Blind Carbon Copy): Recipients who will receive the email without other recipients knowing.
-
Subject Line: This is the field where you enter the email subject, giving the recipient an idea of the email's content.
-
Body Section: Here, you type the email's main content, and the default signature feature enables you to automatically include a standard signature at the end of each email.
-
Text Formatting Options: Formatting options help personalize your email content, making it visually appealing and emphasizing key points for better engagement.
Here’s a tabular representation of the Customizing Font and Style Options in the compose tab:
Text Formatting Options
| Icon | Option | Description |
|---|---|---|
| Font Family | Click the dropdown to select a font. | Available fonts: Arial, Courier New, Georgia, Lato, Lexend, Open Sans, Roboto, Times New Roman, Verdana. |
| Font Size | Click the dropdown to select a font size. | Available sizes: 8, 10, 12, 14, 18, 24, and 36. |
| Text Color | Click the color icon to open the color picker dropdown. | Allows you to select a color for the text. |
| Text Background Color | Click the background color icon to open the color picker dropdown. | Allows you to select a background color for the text. |
| Bold | Click the bold icon. | Applies bold formatting to the text. |
| Italics | Click the italics icon. | Applies italic formatting to the text. |
| Underline | Click the underline icon. | Applies underline formatting to the text. |
| List (Bullet Points) | Click the bullet points icon to toggle between bullet points and numbering. | Applies bullet points format, clicking again switches to a numbered list format. |
| Alignment | Click the alignment icon. | Cycles through left → center → right alignment, then back to left. |
| Quotes | Click the quotes icon. | Applies or removes quotation formatting. |
| Ellipsis Menu | Click to reveal more options. | Includes options: Outdent, Indent, Strike-through, Clear Formatting. |
| Outdent | Decrease the indentation level | Moves the selected text or paragraph to the left, reducing its indentation. |
| Indent | Increase the indentation level | Moves the selected text or paragraph to the right, increasing its indentation. |
| Strike-through | Apply a line through the text | Draws a line through the selected text, indicating removal or negation. |
| Clear Formatting | Remove all applied formatting | Reverts the selected text to its default style by removing all formatting. |
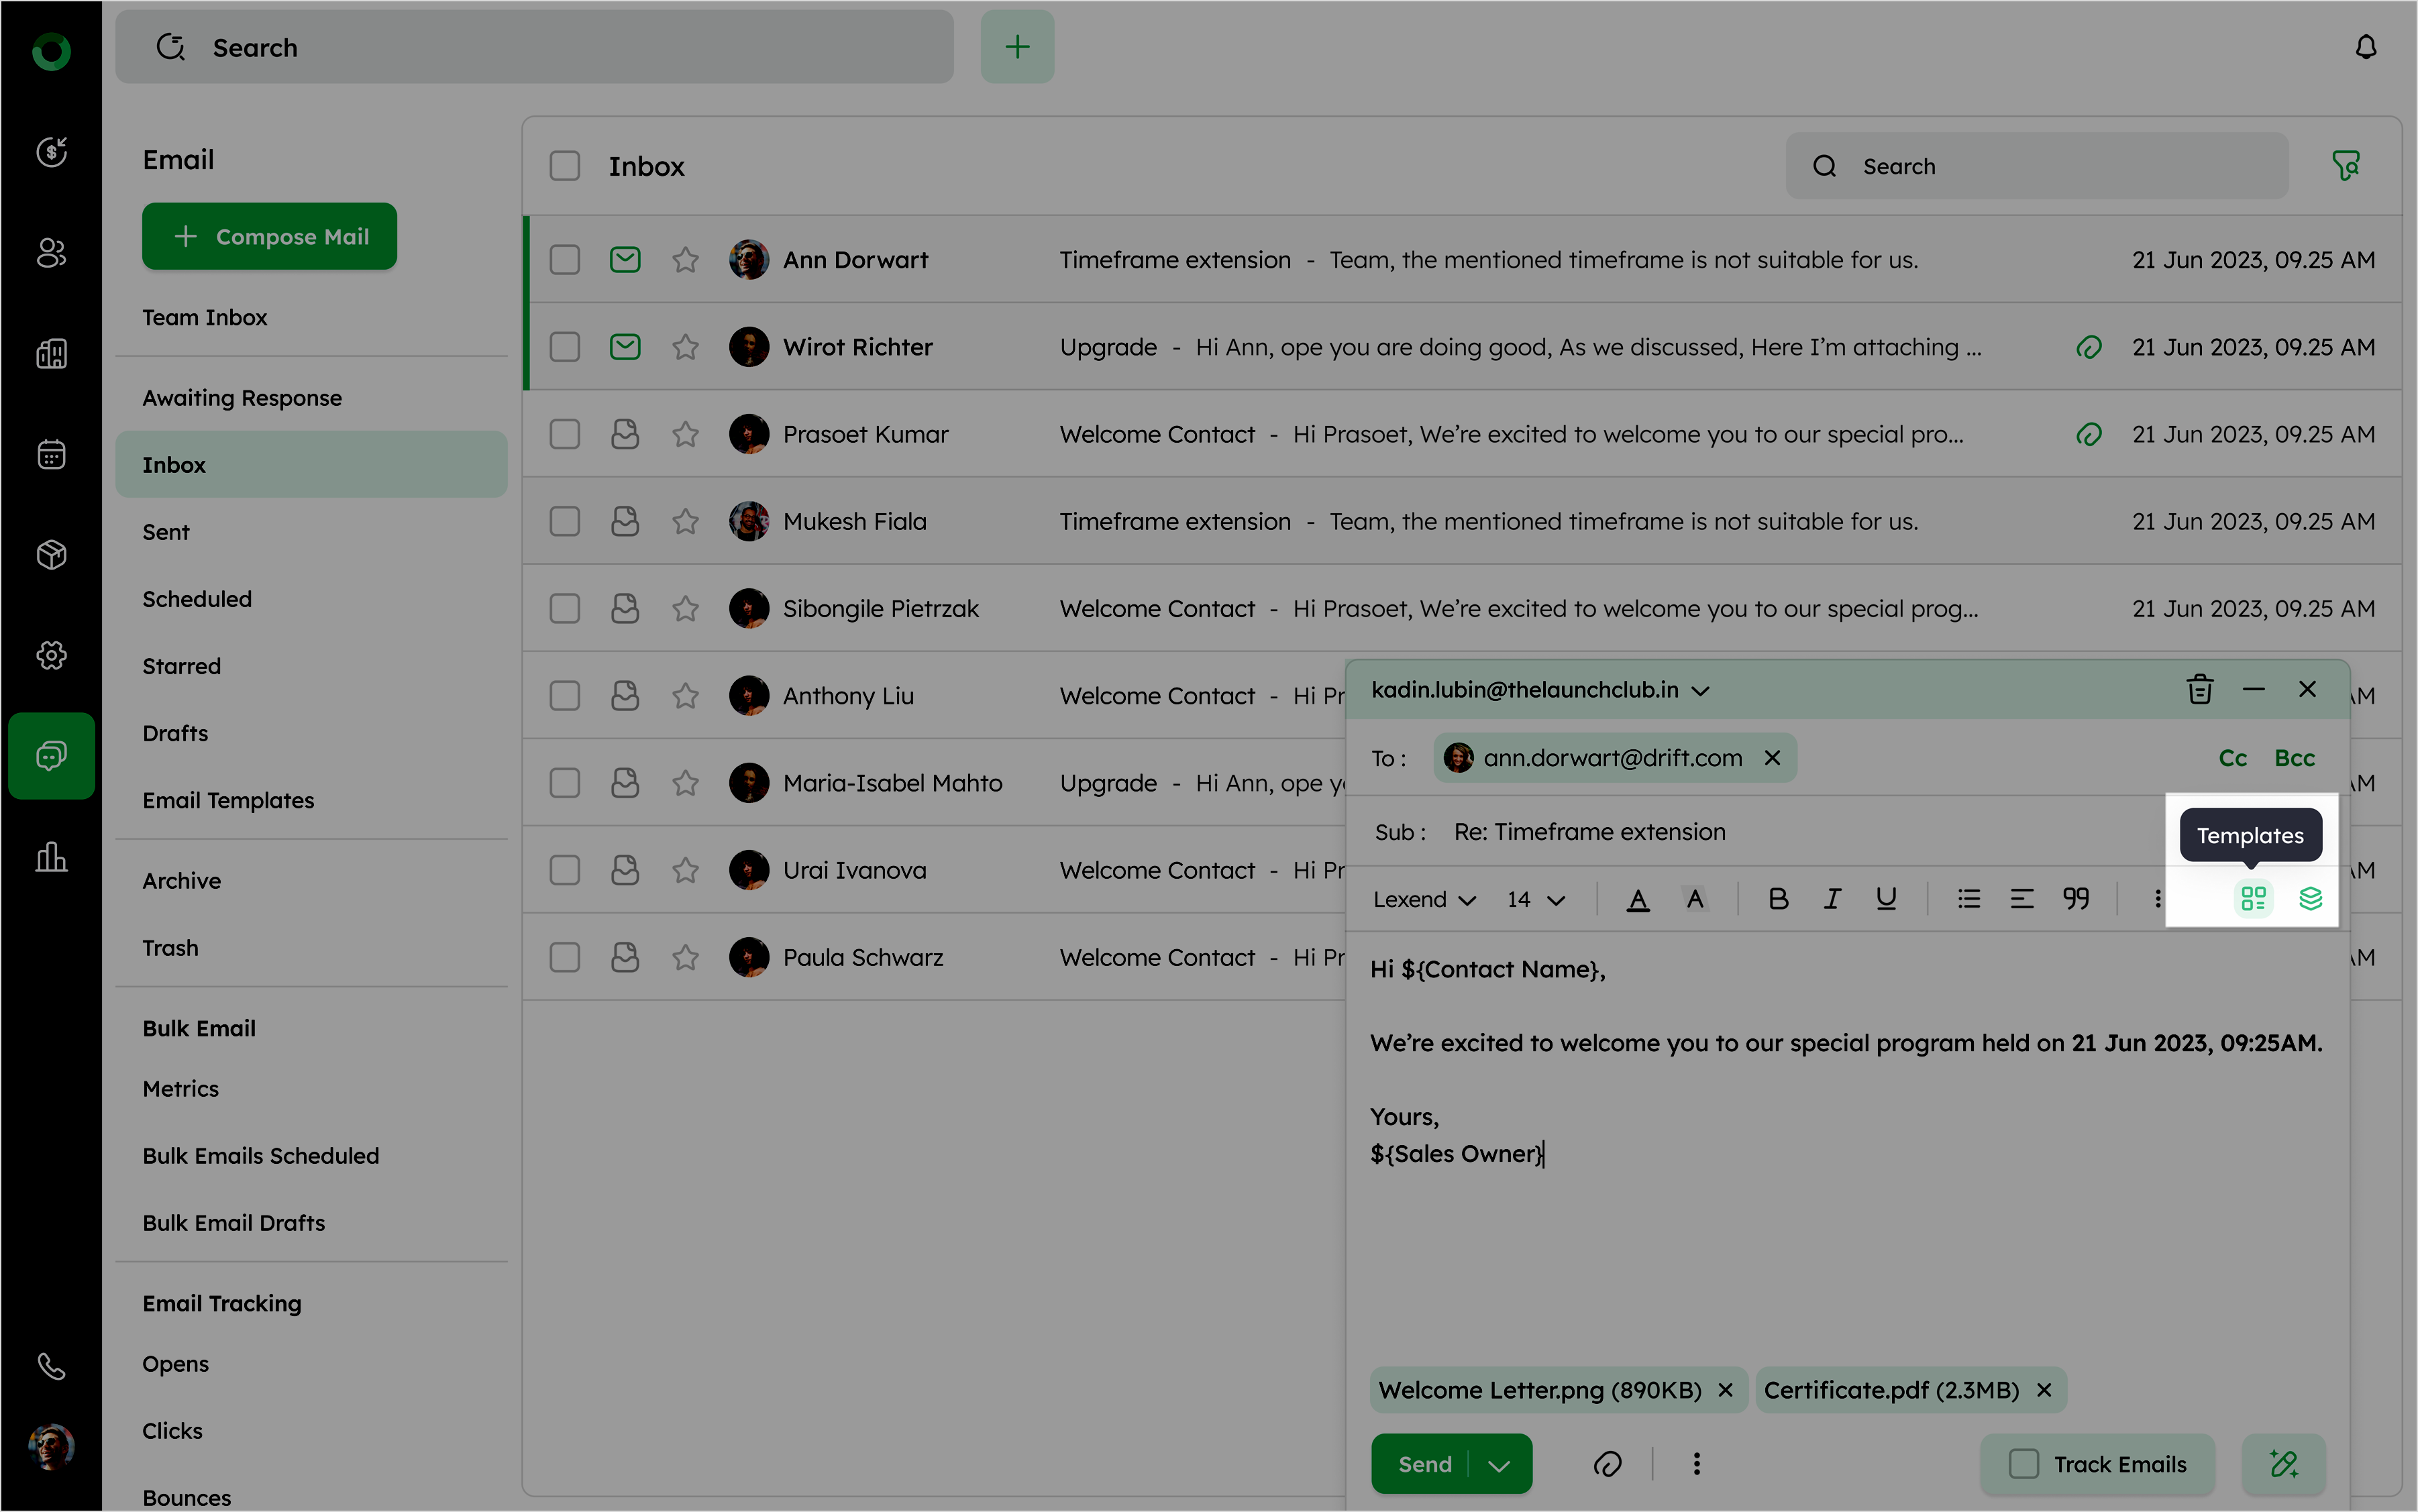
Email Templates: Email templates are pre-written messages you can save and reuse, allowing for quicker communication with consistent messaging. You can access saved templates or create a new template directly from this section, making it easy to send standard responses or messages.
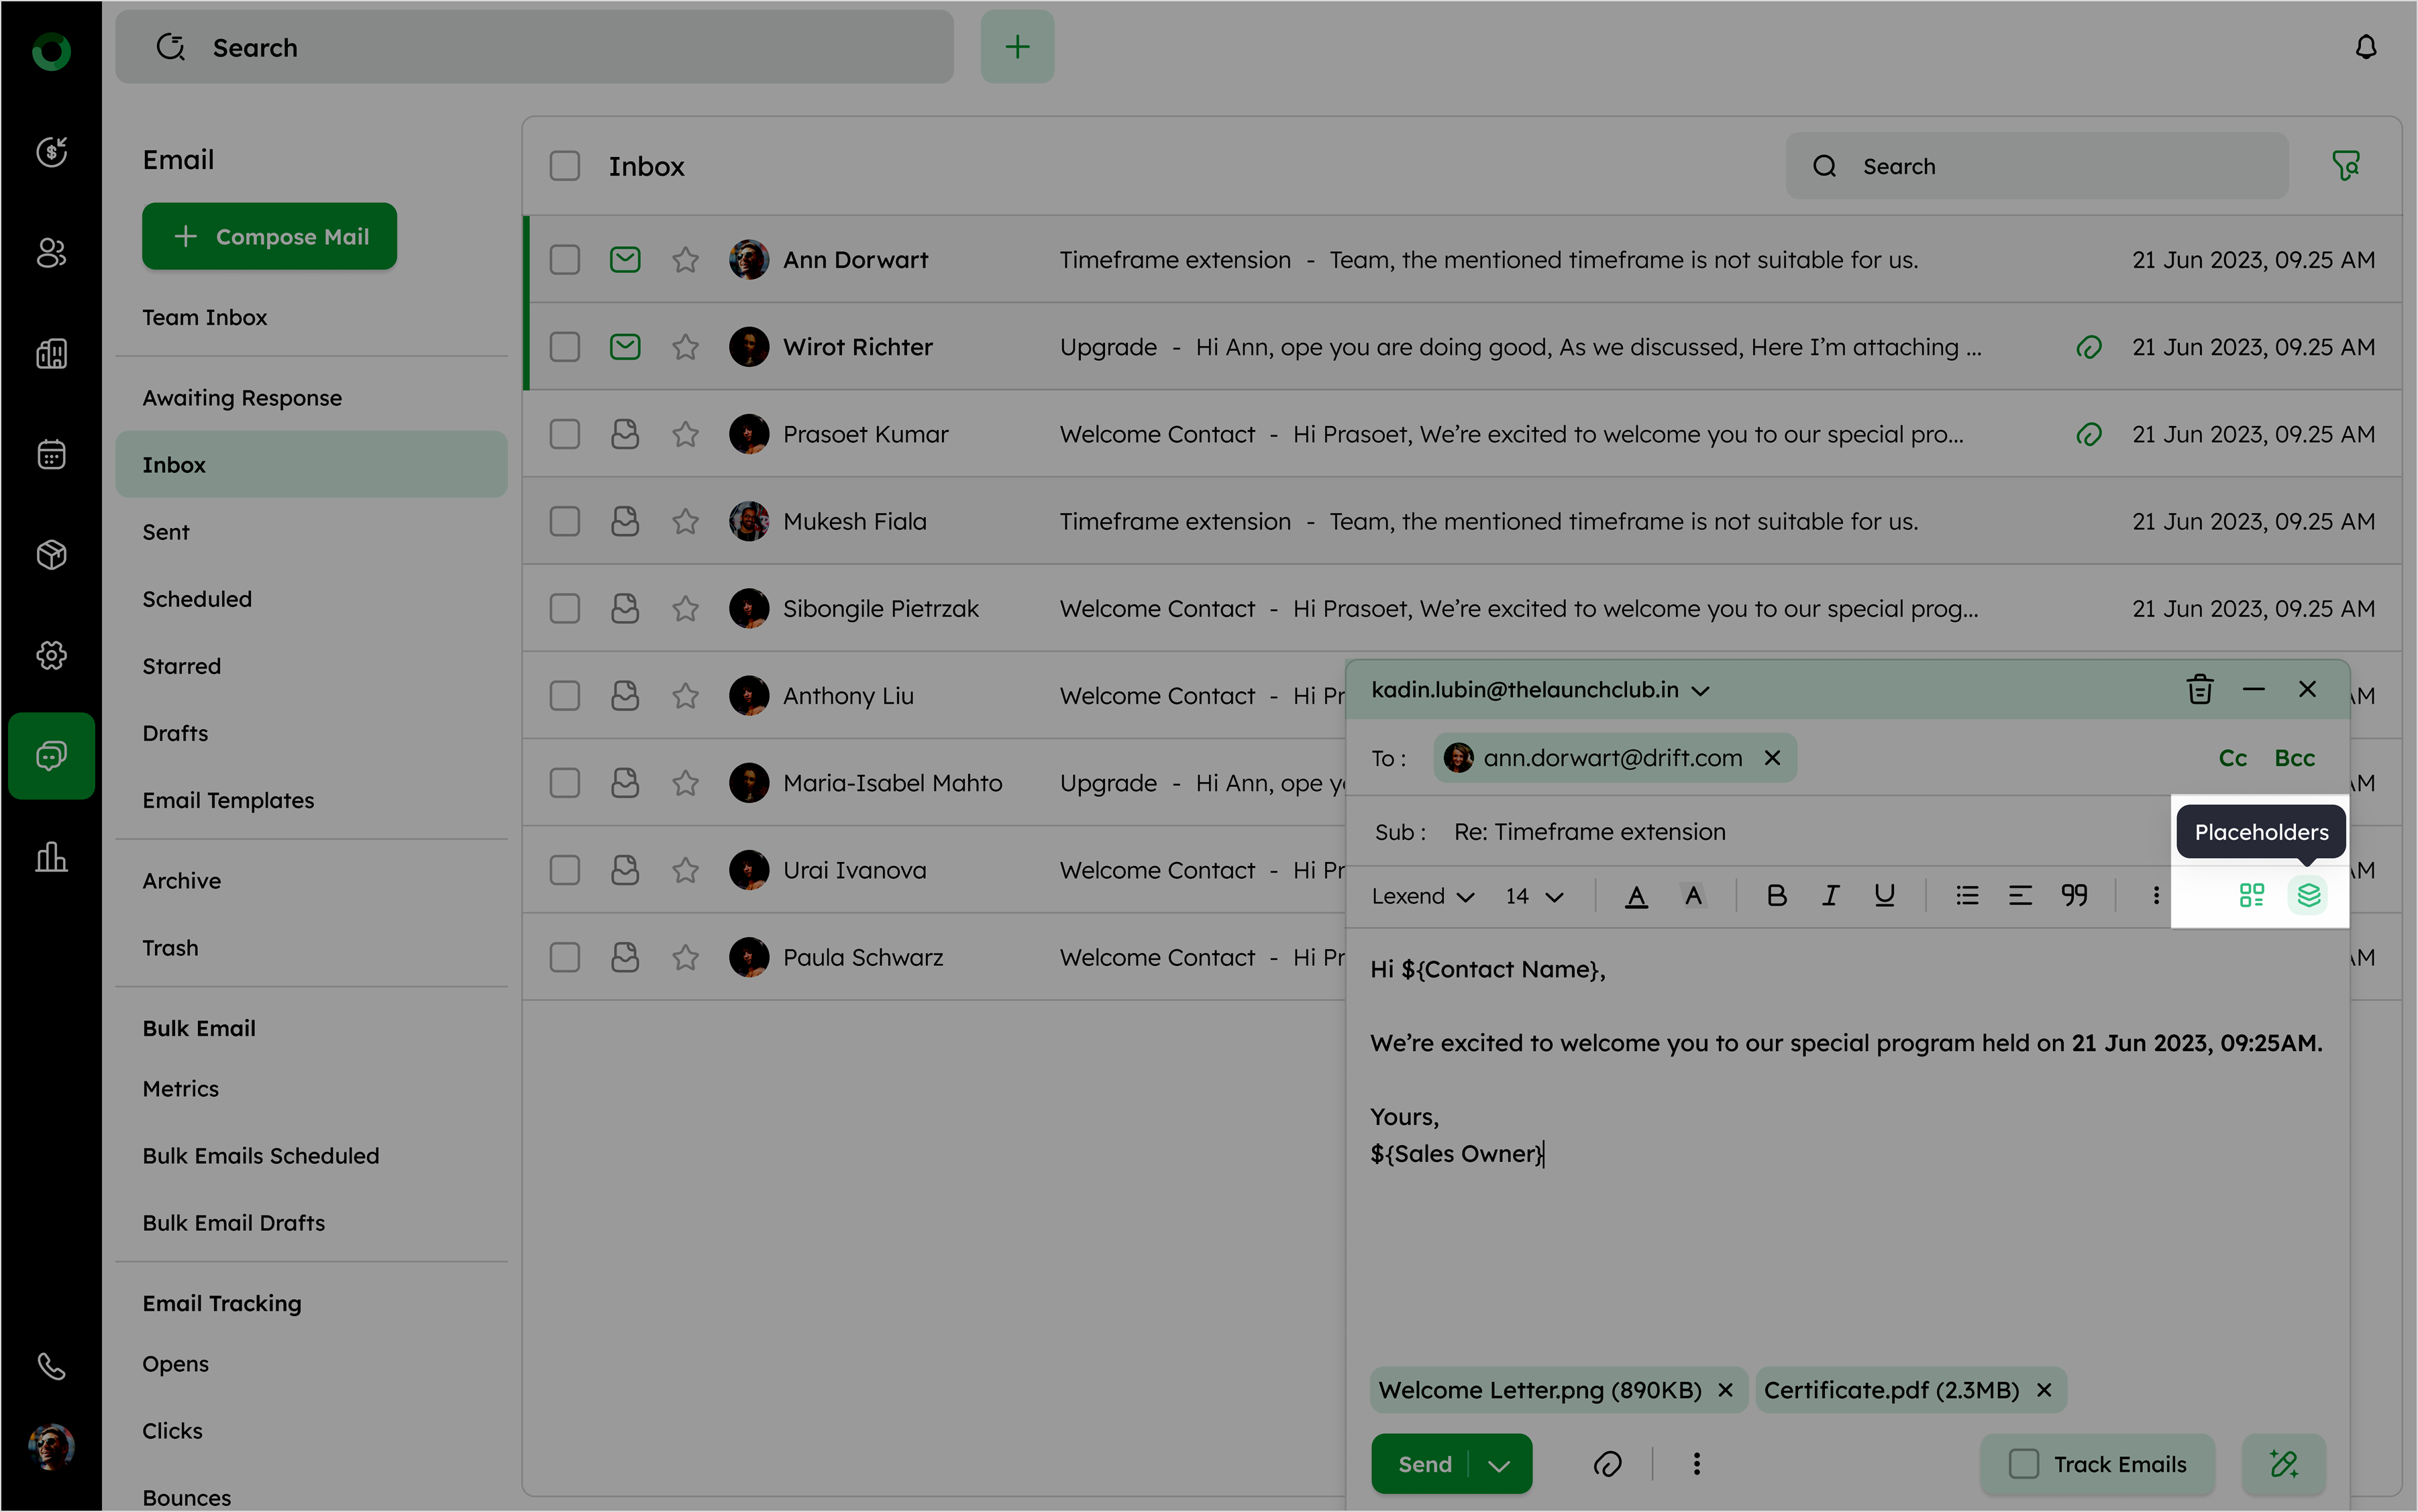
Placeholders: Placeholders allow automatic personalization in emails by inserting specific information. For example, ** {{FirstName}}** will be replaced with the actual first name when the email is sent, enhancing template-based emails.
-
The placeholder pulls details from the contact associated with the email address in the To field.
-
If there are multiple recipients in the To field, placeholders will not replace the values to avoid conflicts.
Send Button: The Send button sends the email once you’re ready. It also has a dropdown for scheduling the mail when you want to deliver.
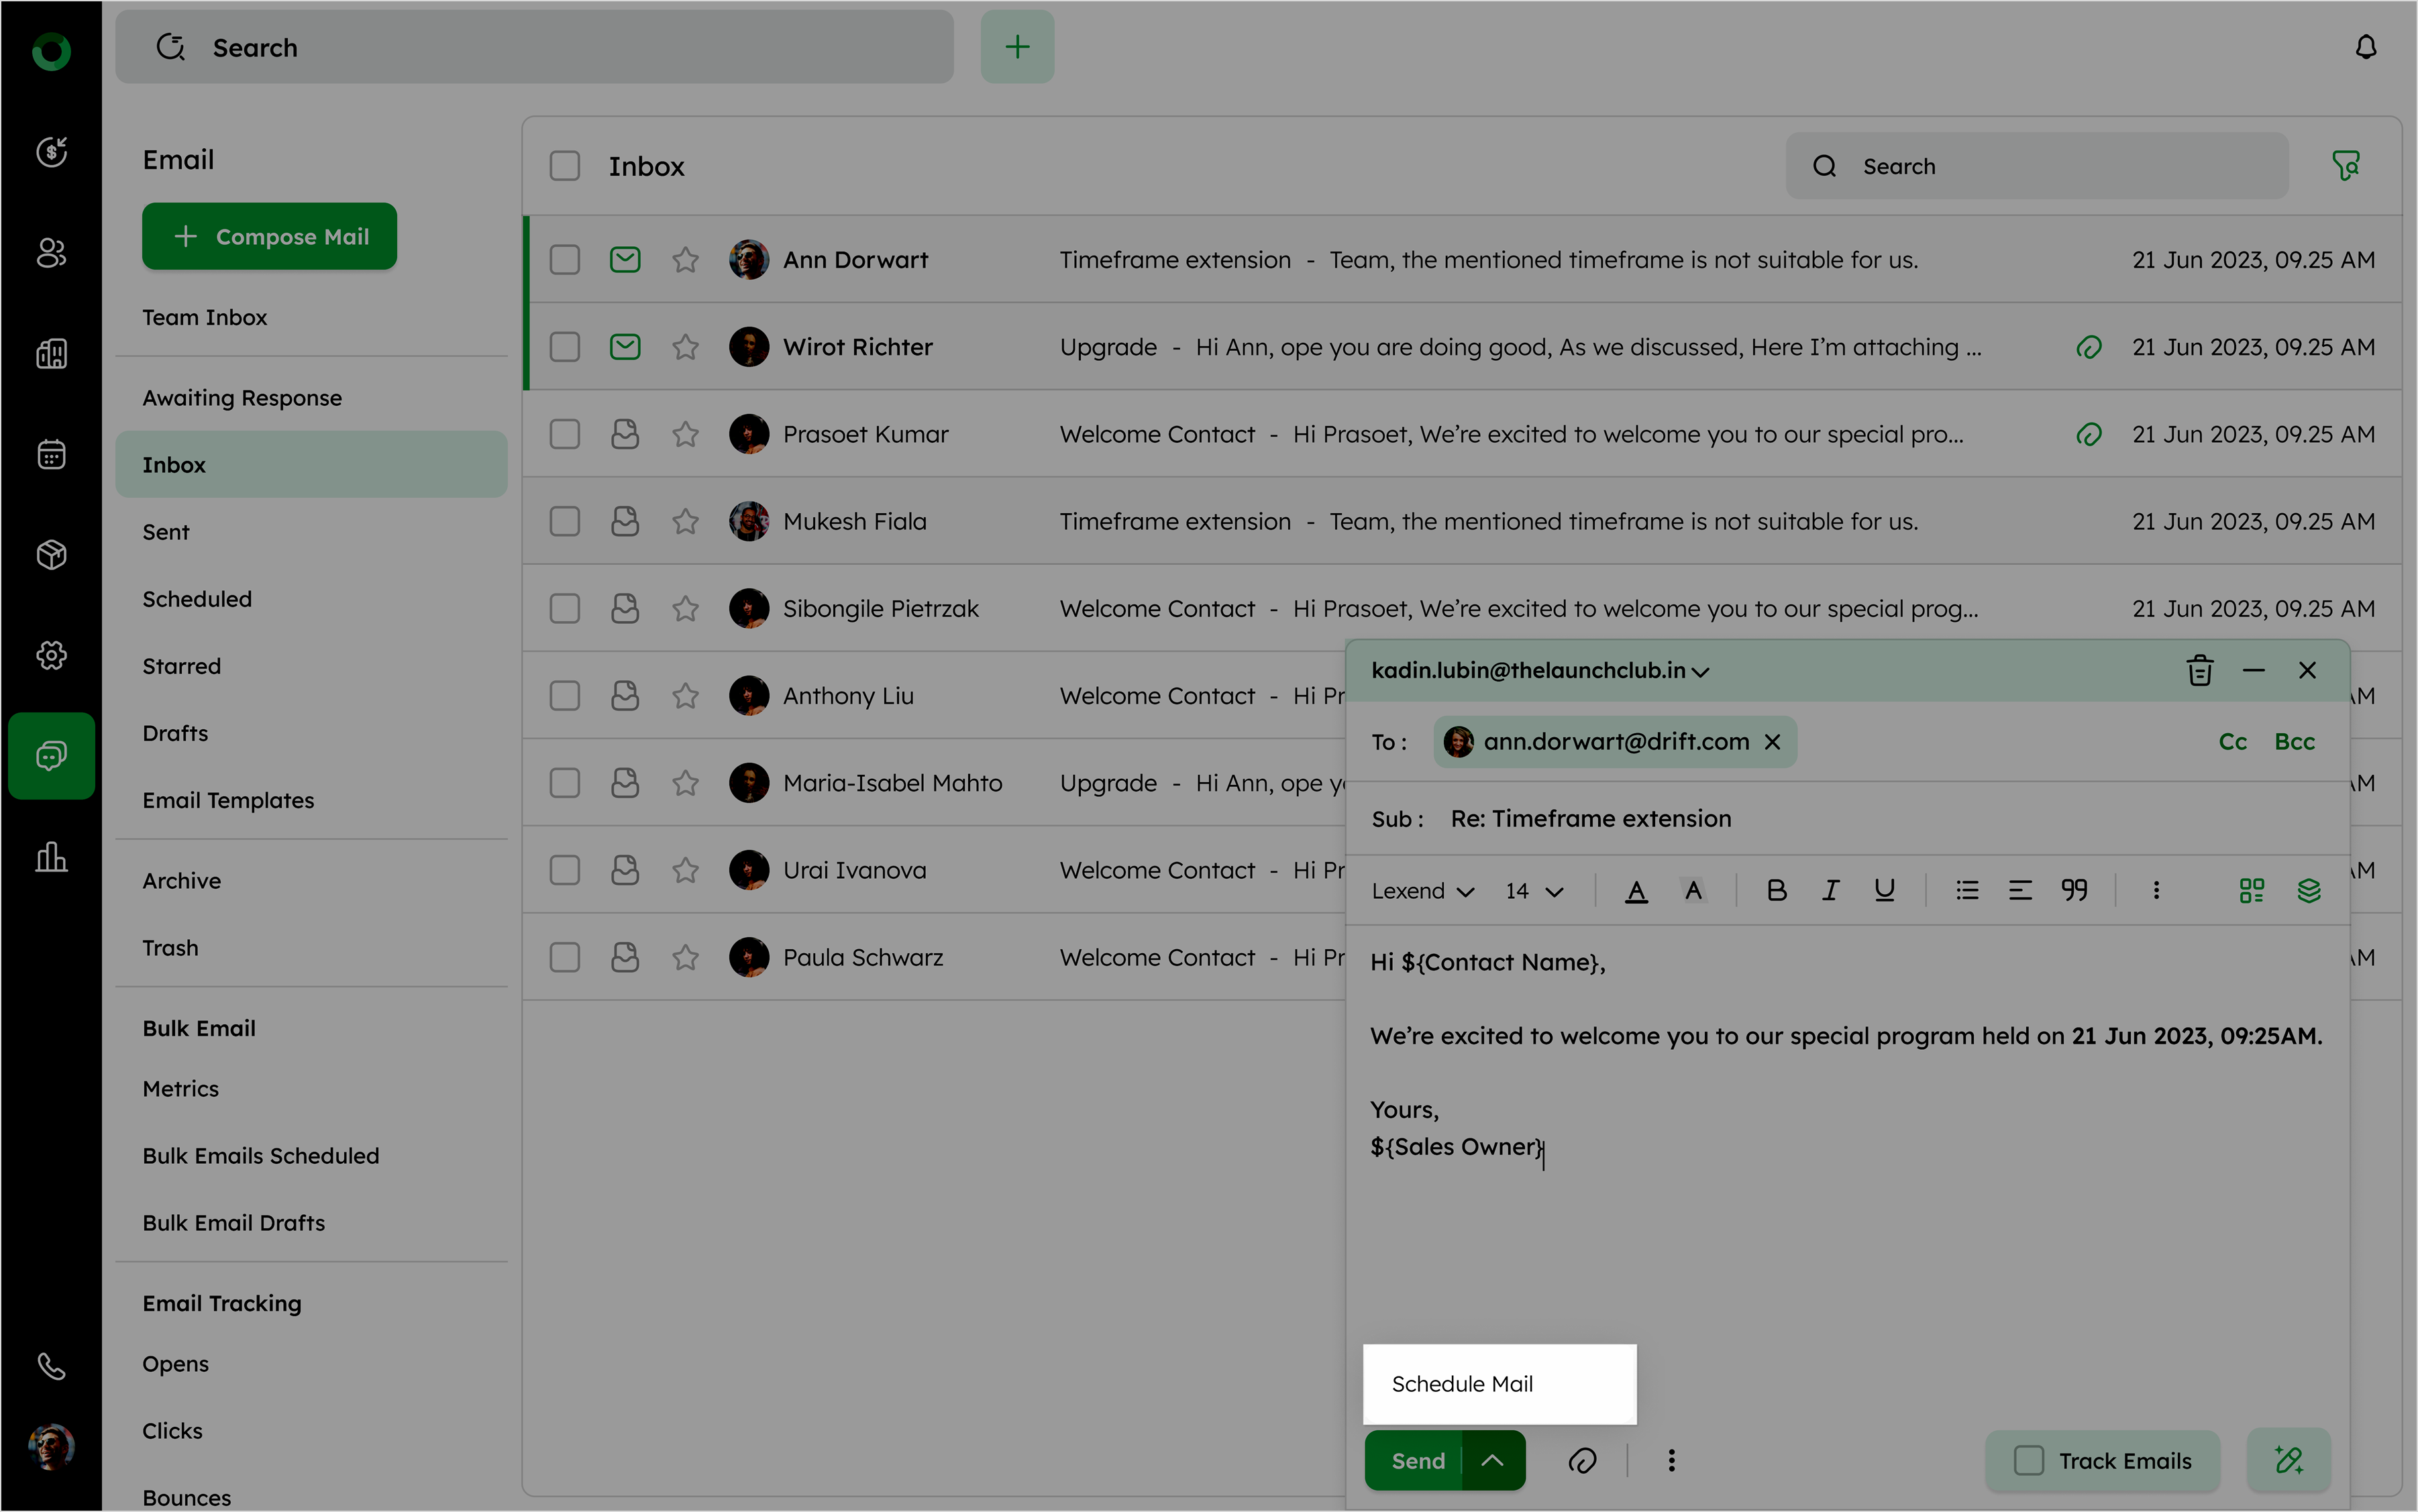
The Scheduled Mail from the dropdown opens the calendar interface. Here, you can select your preferred time zone from the dropdown, which displays various areas and their respective times. This ensures the email is sent at the appropriate time for both you and your recipients. Preset scheduling options are available, allowing you to choose specific times for sending your email, including:
-
Next Day Morning: Sends the email the following day at approximately 9:00 AM.
-
Next Day Afternoon: Sends the email the next day around 2:00 PM.
-
Monday Morning: Sends the email on the upcoming Monday at a standard morning time.
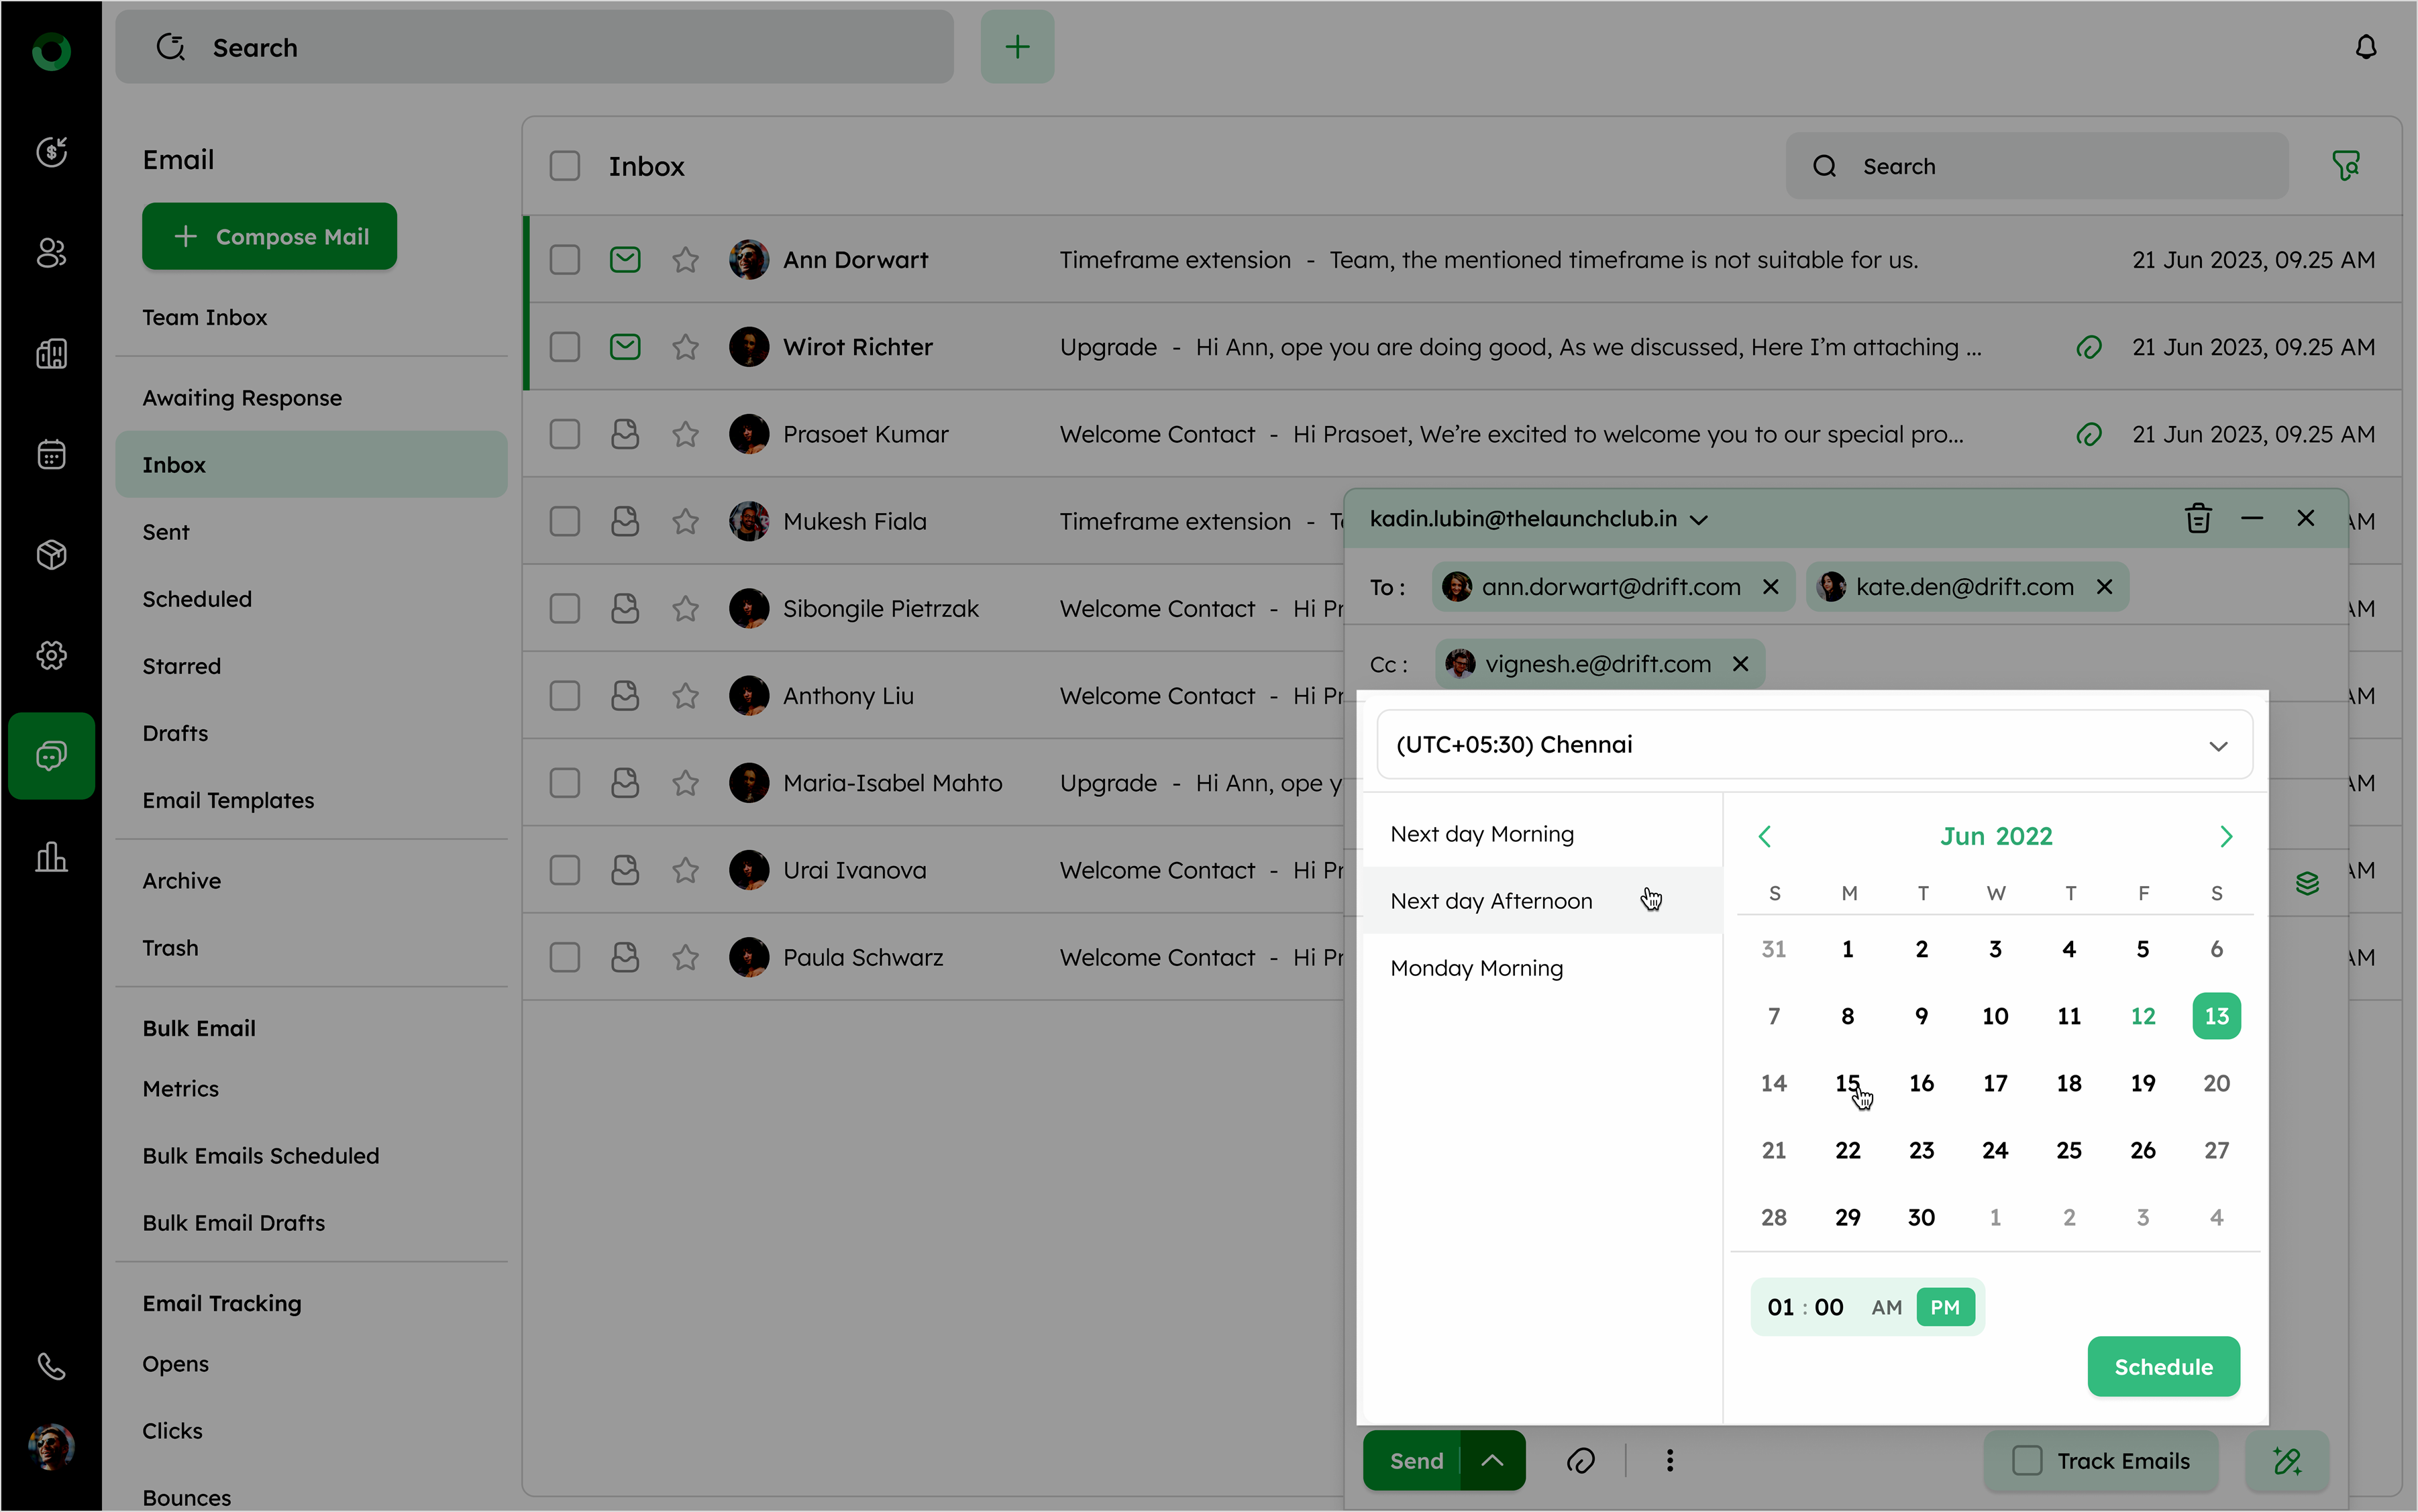
You can also opt for a custom date and time by adjusting the calendar and entering the desired hour and minute. Once all settings are configured, clicking the Schedule button will confirm and save the scheduled send time for your email.
Attachment Icon: This allows you to attach files to the email, such as documents, images, or other file types.
Ellipsis Icon: The ellipsis icon next to the attachment icon reveals more options, including:
-
Link Conversation to Deal: This option allows you to link the email conversation to a specific deal in your CRM, helping track interactions related to that deal.
-
Link Conversation to Contact: This option lets you connect the conversation to a specific contact, centralizing the communication history for each contact.
For more information, refer to the Email Settings for detailed steps on linking conversations to deals or contacts.
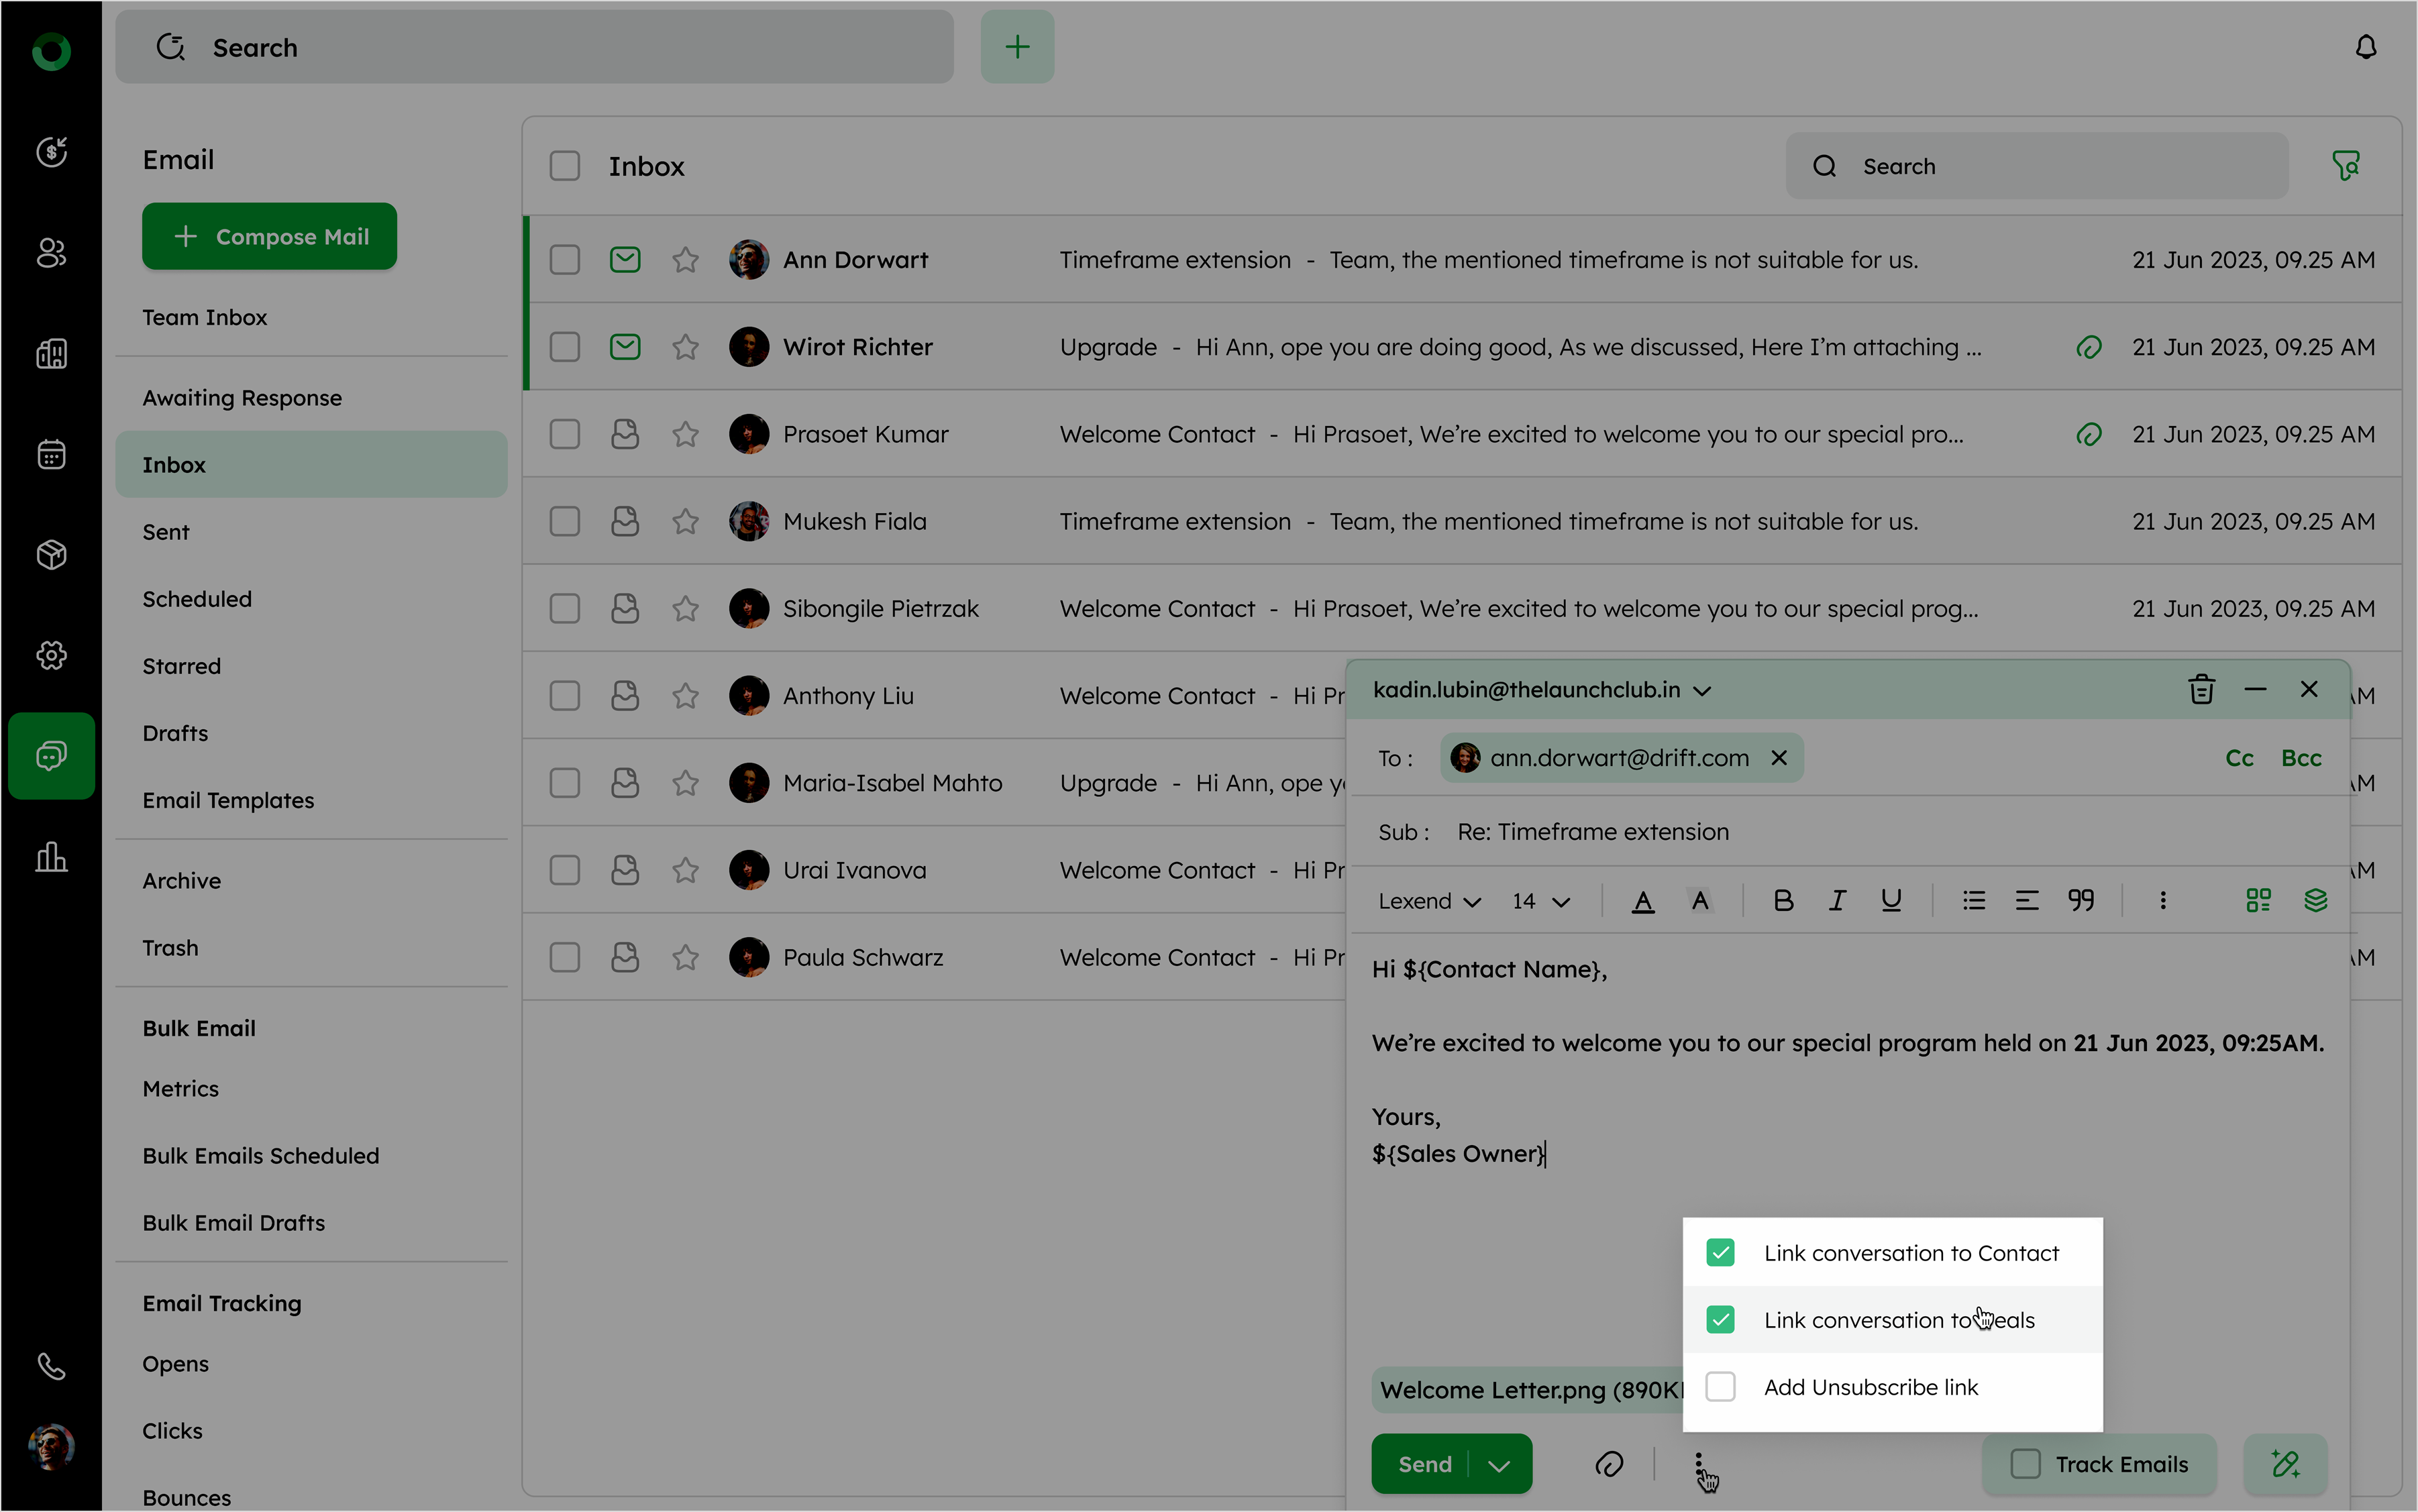
- Add Unsubscribe Link: For emails sent to multiple recipients, especially marketing emails, this option adds an unsubscribe link to comply with regulations and allow recipients to opt-out.
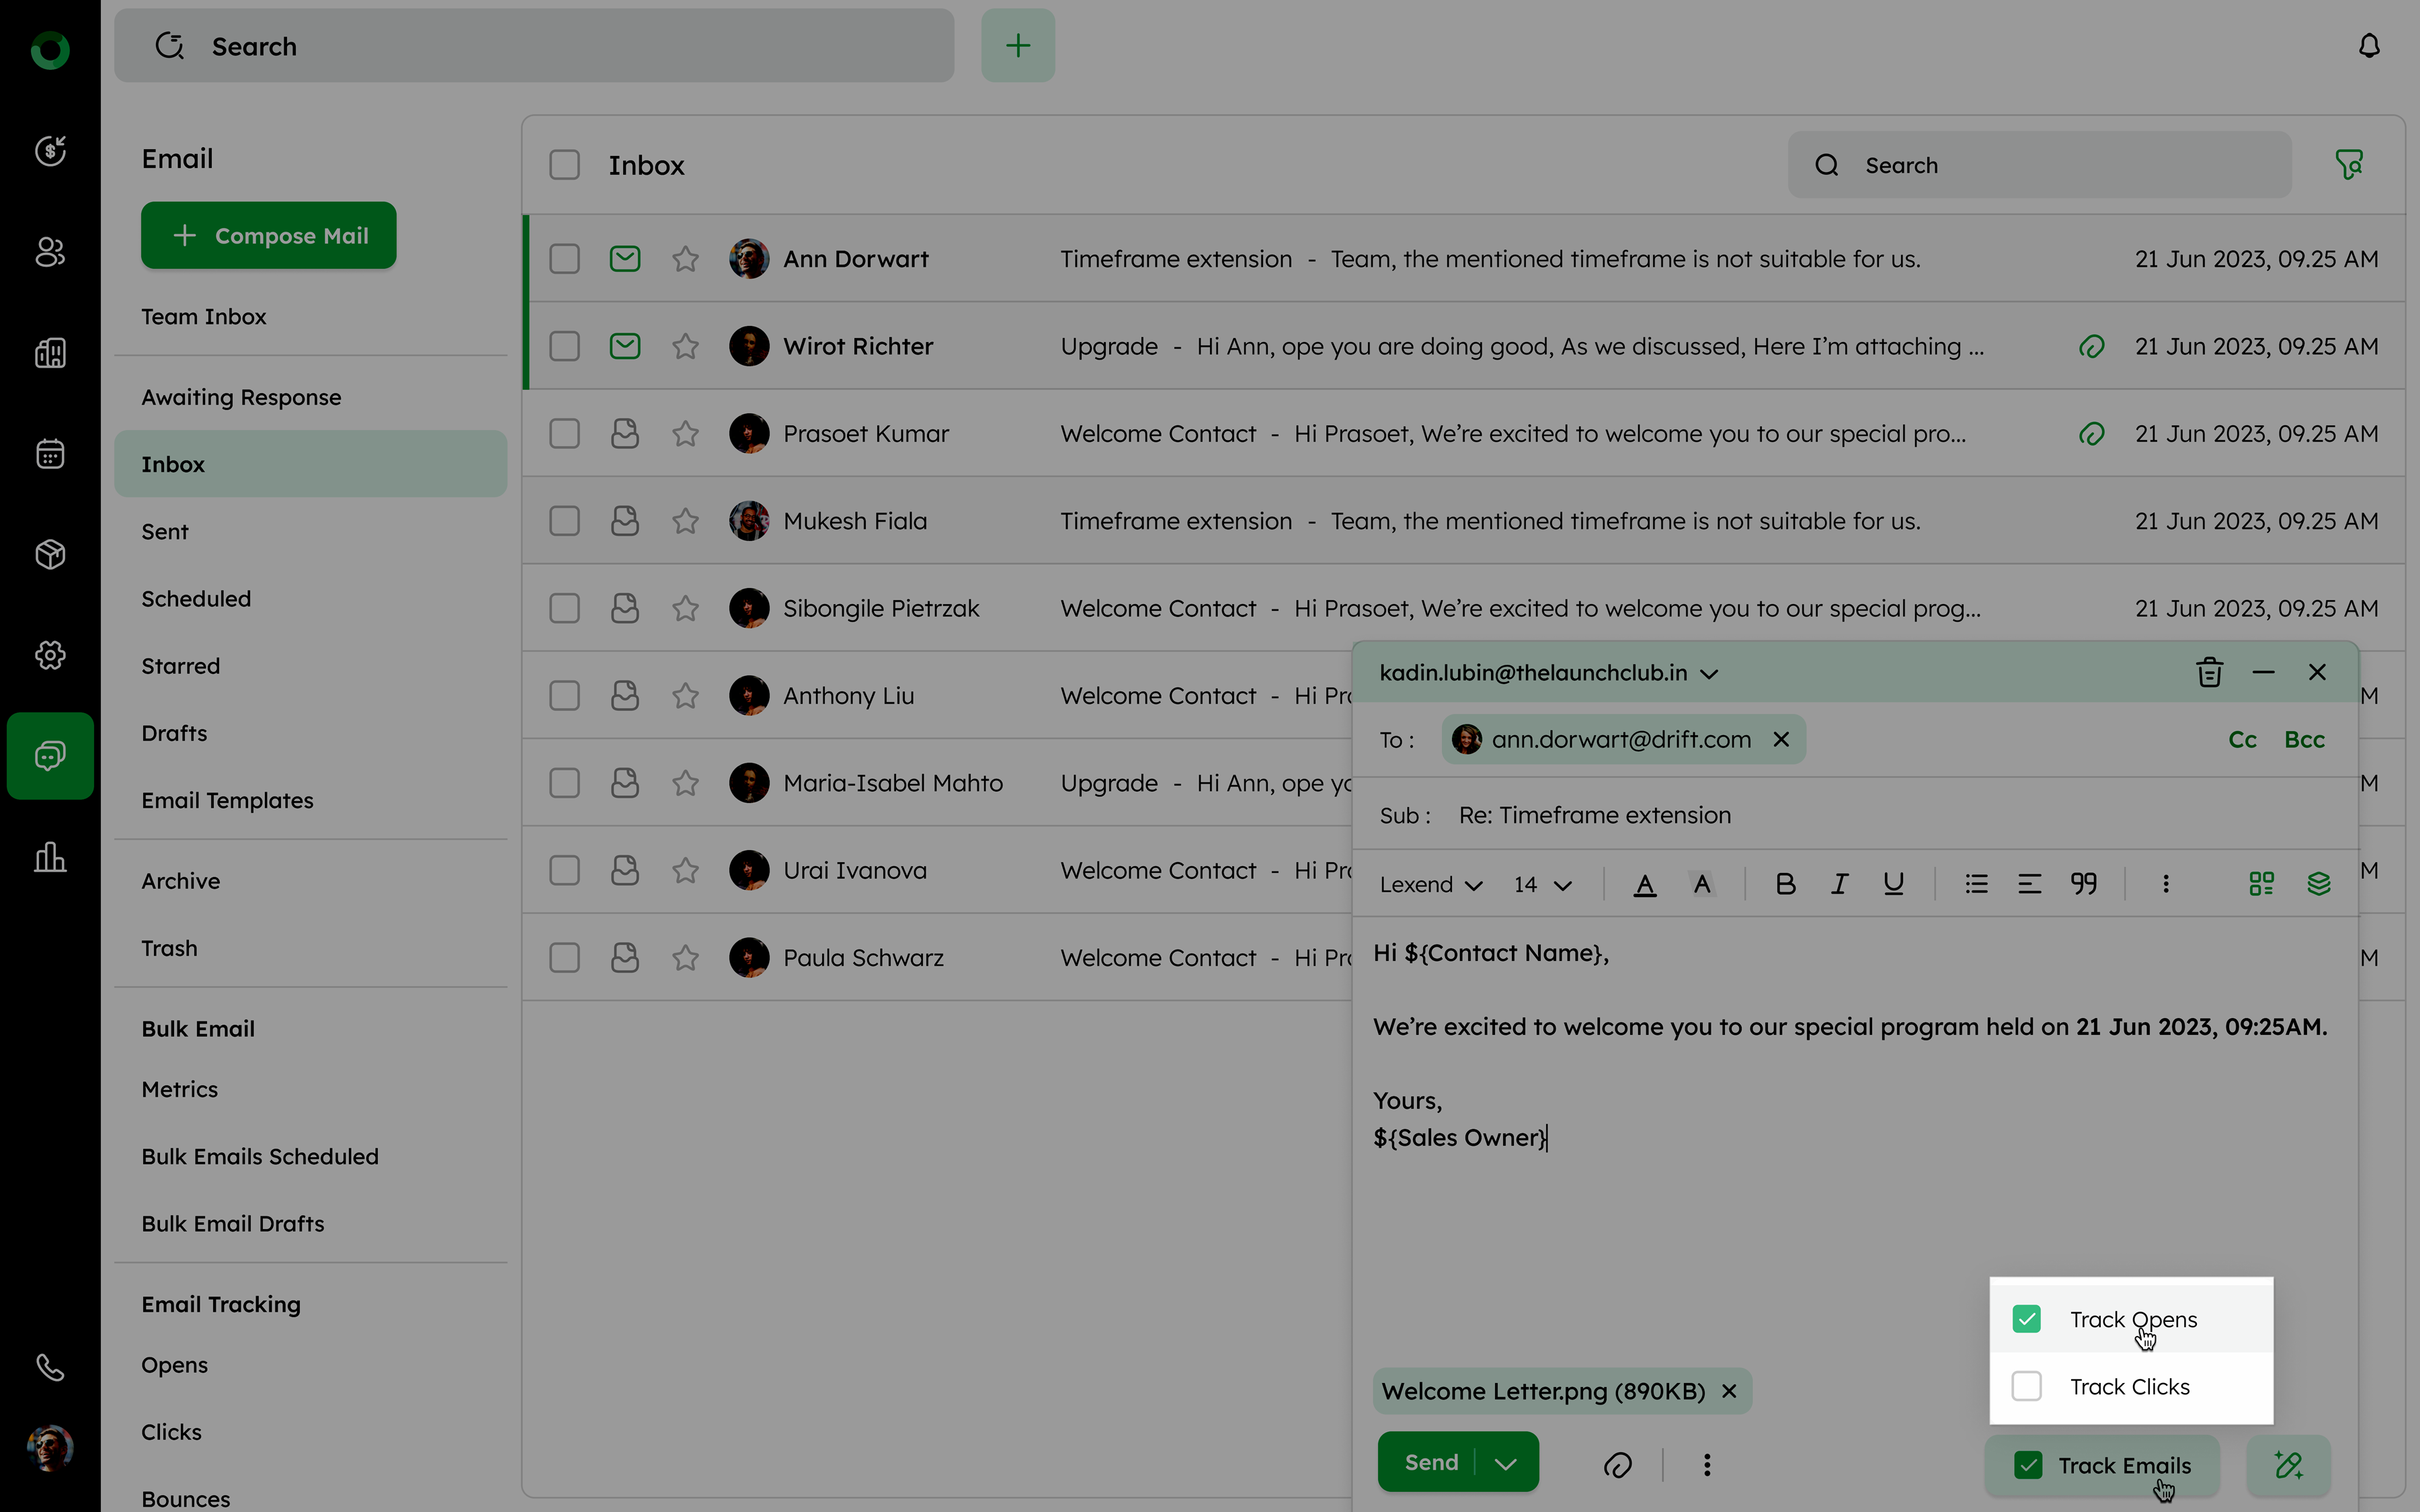
Track Email Option: The Track Email checkbox enables tracking features, giving insights into the recipient’s interactions with the email:
-
Track Opens: Lets you see when the recipient opens the email, which helps gauge interest.
-
Track Clicks: Tracks if the recipient clicks any links within the email, providing insights into engagement with specific content.