The Company Detail Page
The Company Detail View shows all company information, related activities, and linked records in one unified platform, helping you track interactions and manage relationships.
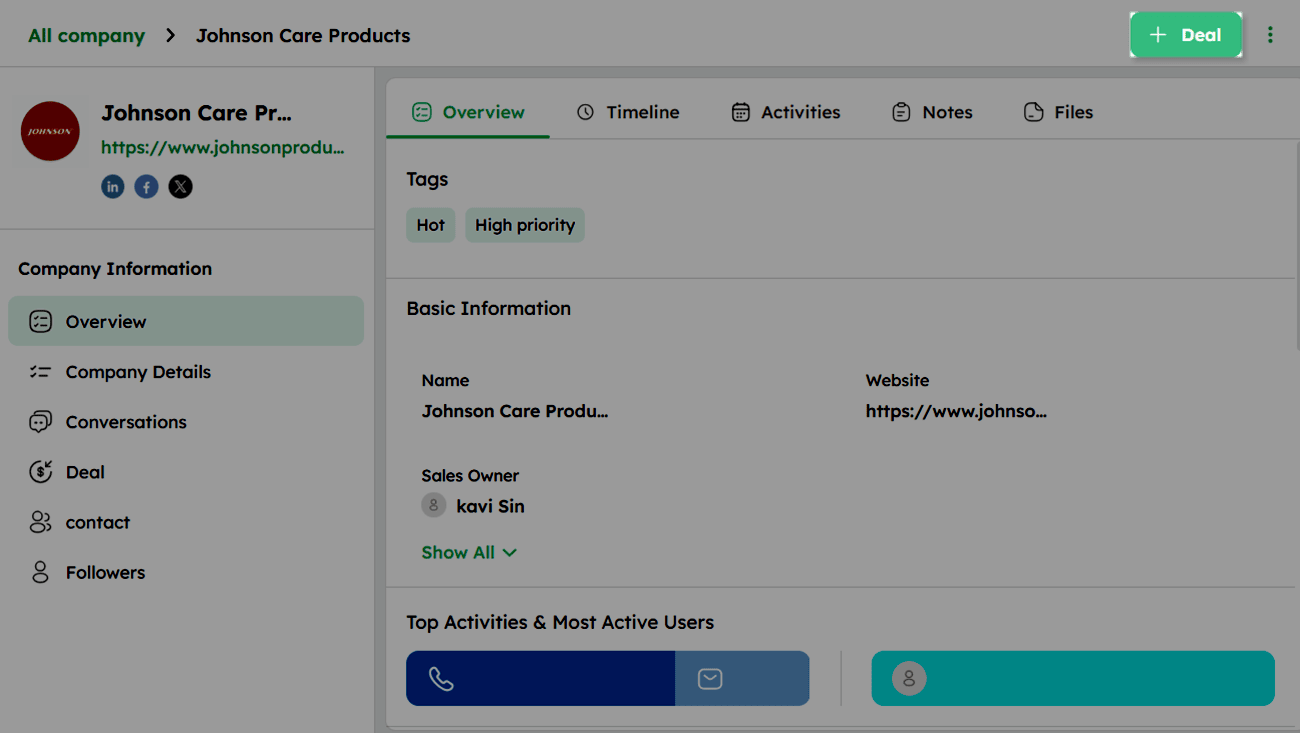
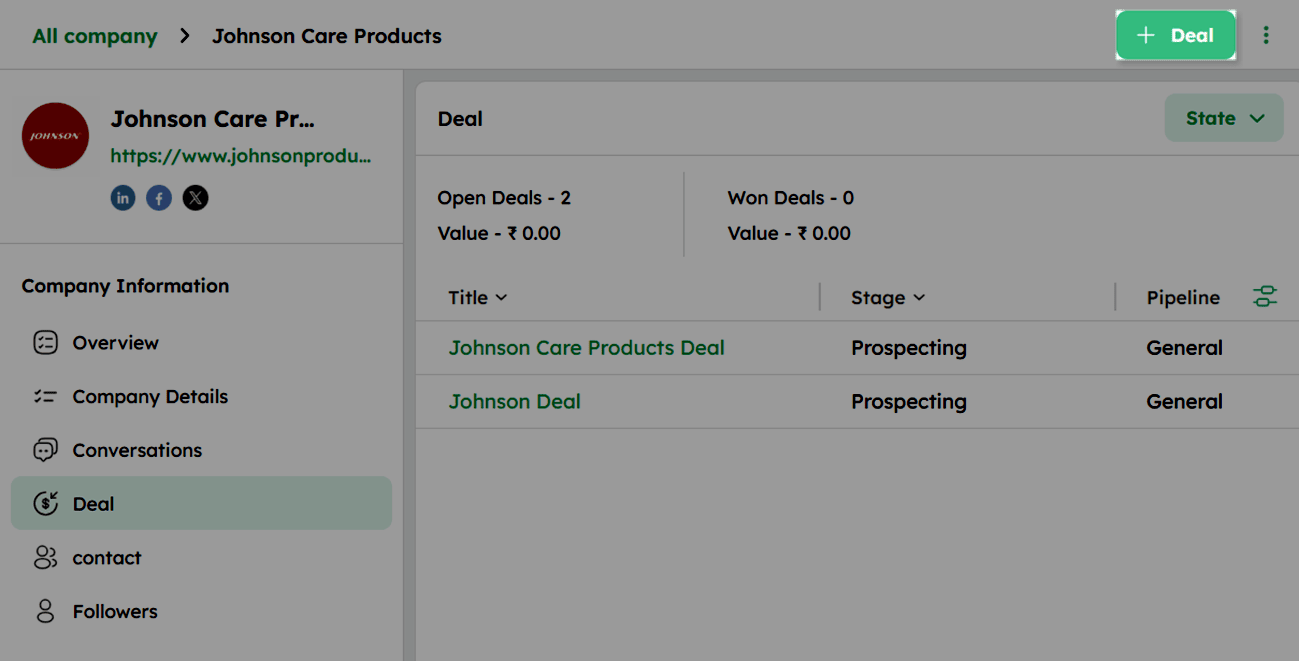
How to Create a New Deal from the Company Detail Page?
Adding a Deal from the Company Detail Page
Use the + Deal option to create a new deal directly from the Company Detail Page and link it to the selected company.
- Click the + Deal button on the Company Detail Page.
- In the Add Deal drawer, enter the required deal details.
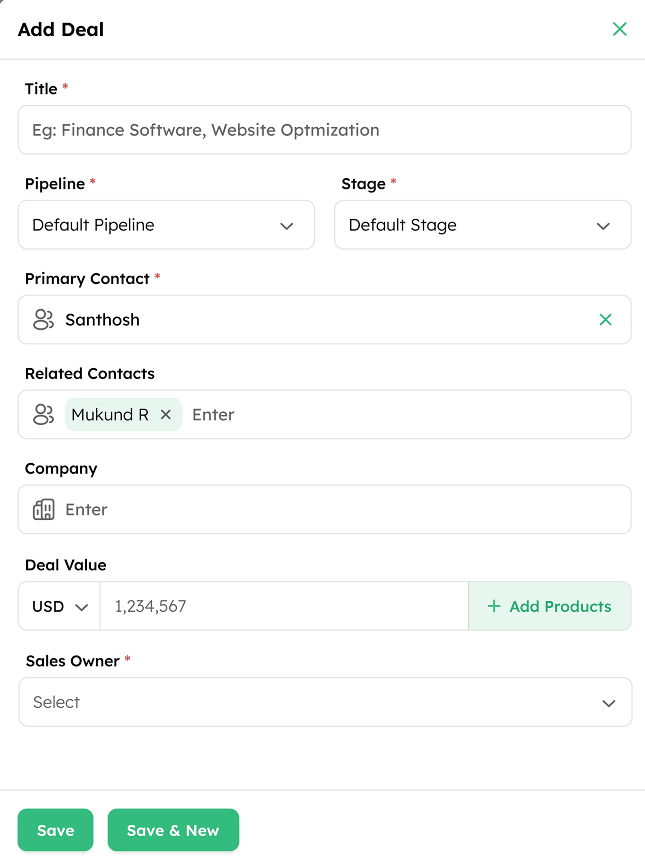
- Click Save to create the deal. The deal is automatically linked to the company and visible in both the Company profile and the Deals section.
How to Edit the Company Profile?
-
Go to the Company Module.
-
Click any company in the List View to open its Detail Page.
-
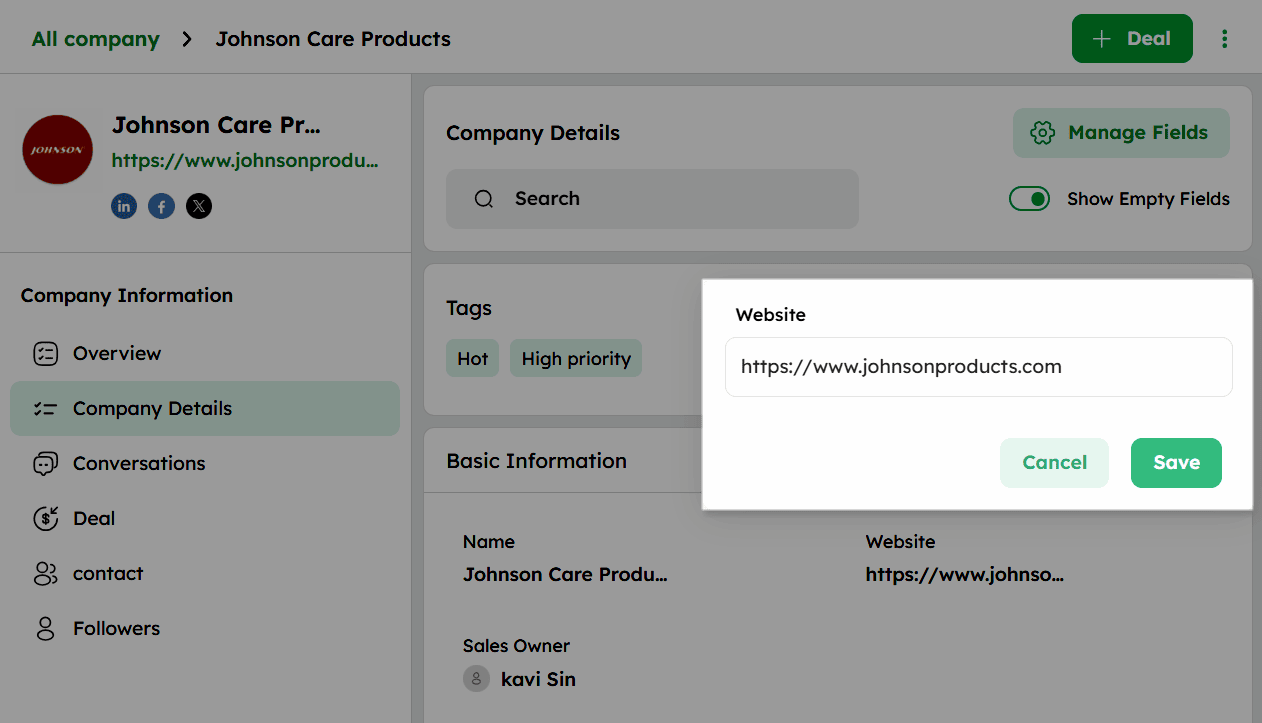
On the Company Detail Page, the profile section displays essential details such as company name, website, and linked social profiles.
- To edit the profile, click the edit icon next to the profile section.
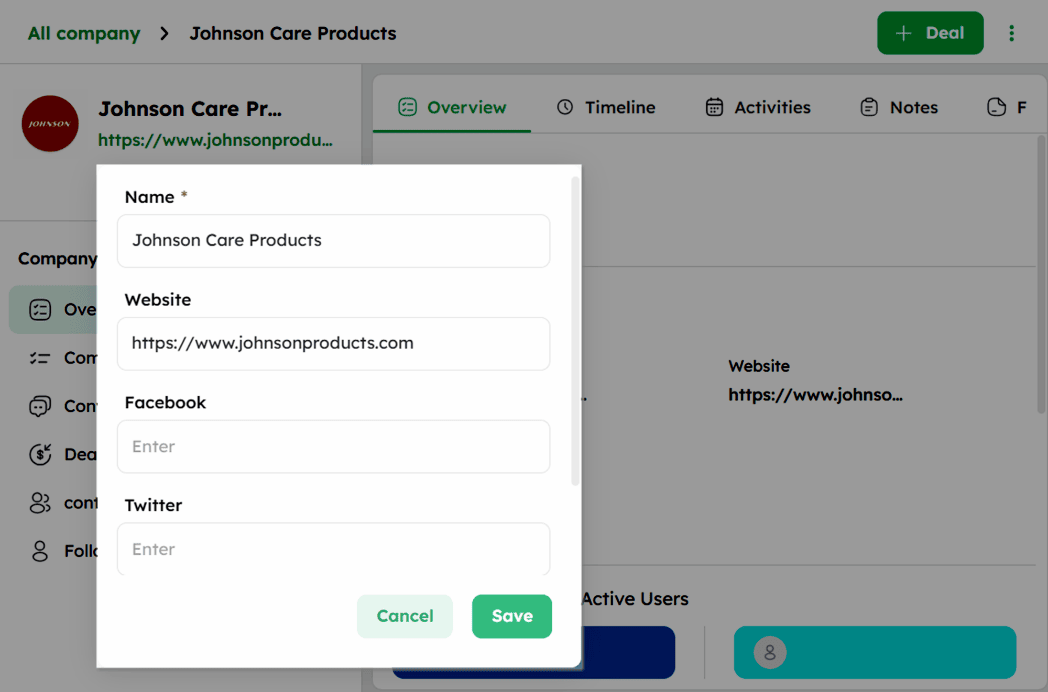
-
Update the necessary fields in the edit form.
-
Click Save to apply the changes.
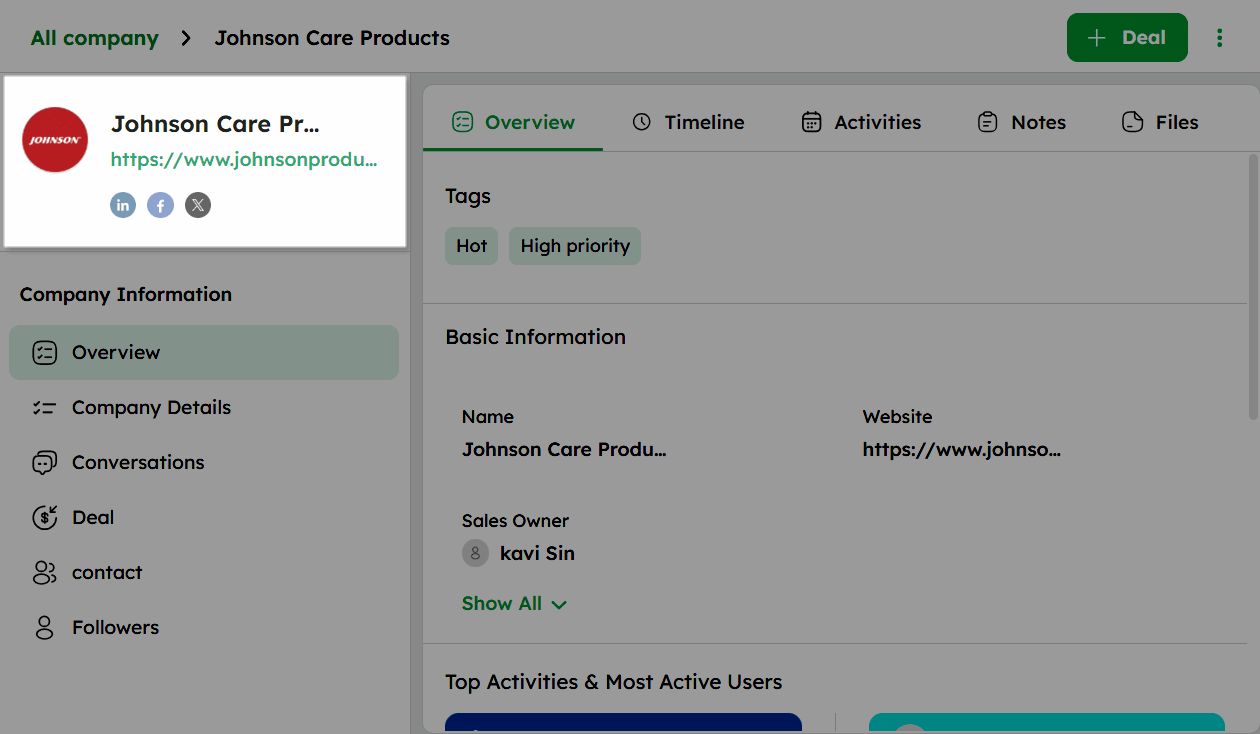
Company Profile: Key Information and Navigation
The Company Detail Page brings together company information and related records for quick access, with the left panel providing quick access to connected modules. Here is a breakdown of each section:
Overview Section in Company Module
The Overview tab provides a quick snapshot of the company's status, key details, and engagement insights. It includes sections such as Timeline, Activities, Notes, and Files for tracking interactions and updates.
Left Panel Navigation consists of:
- Overview - summary of the company's status, key details, and engagement metrics.
- Company Details - complete list of company fields and attributes.
- Conversations - email interactions linked to the company.
- Deal - deals associated with the company.
- Contact - contacts linked to the company.
- Followers - users following the company record.
How to Navigate the Overview Tab in the Company Module?
-
In the Company Detail Page, select a company to open its Detail Page.
-
Scroll down to review each section and its details.
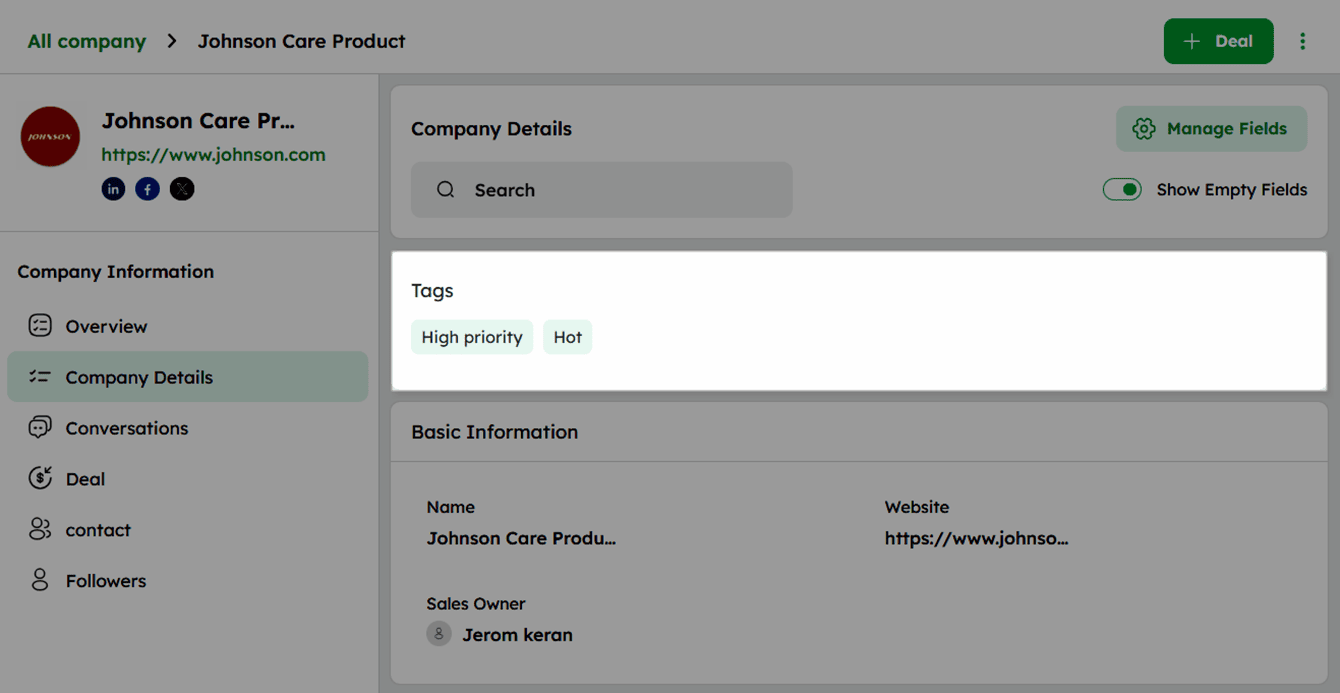
In the Tags section, assign labels to the company record for easy categorization and filtering.
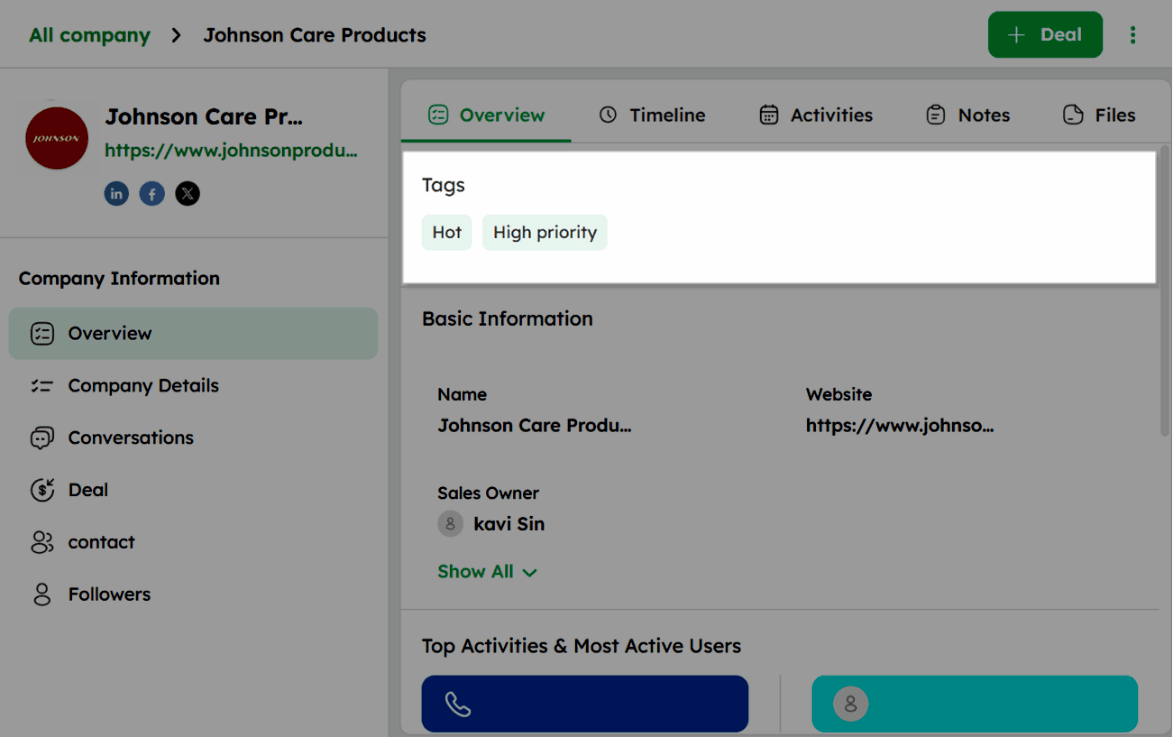
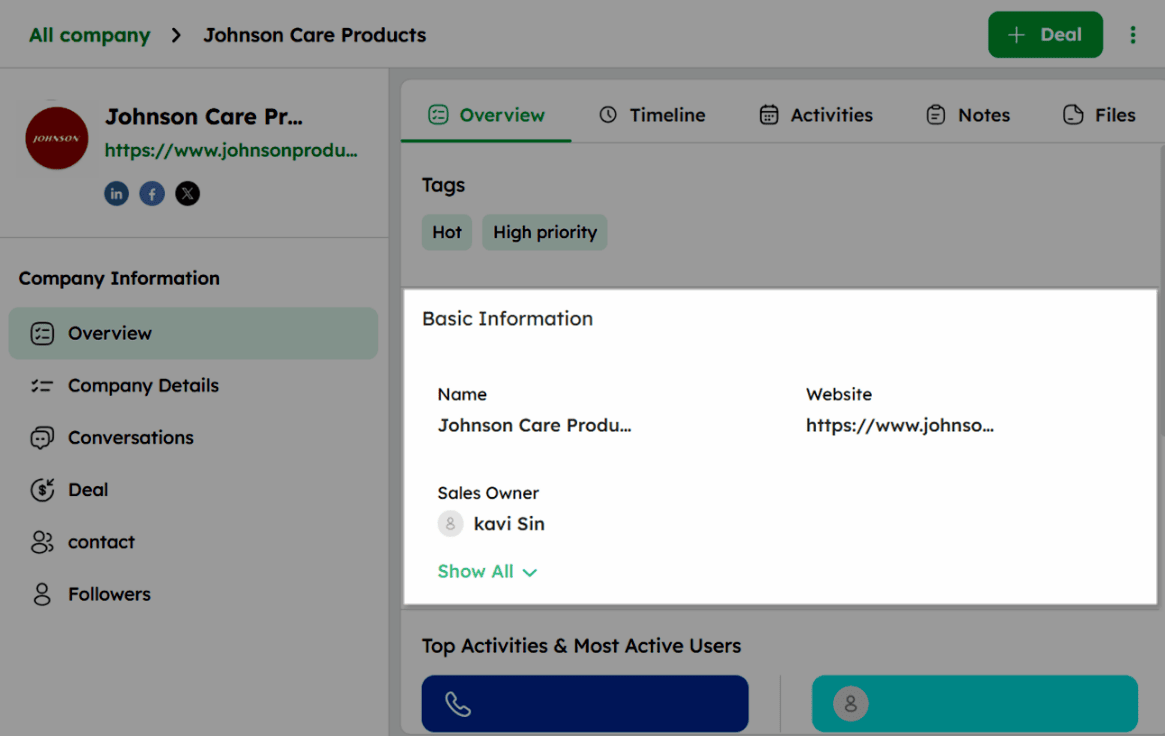
- In the Basic Information section, view key fields such as Name, Website, and Sales Owner. Click Show All to view all company details.
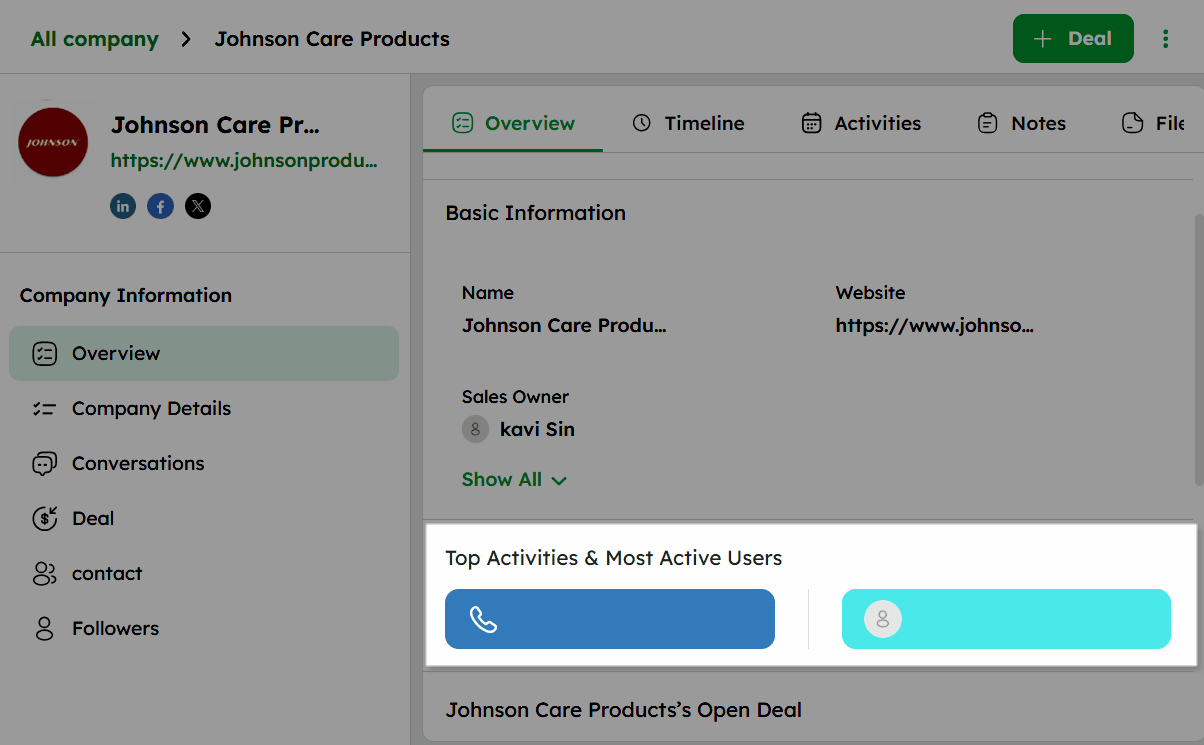
- In the Top Activities & Most Active Users section, view the most frequently performed activity types and users with the highest engagement.
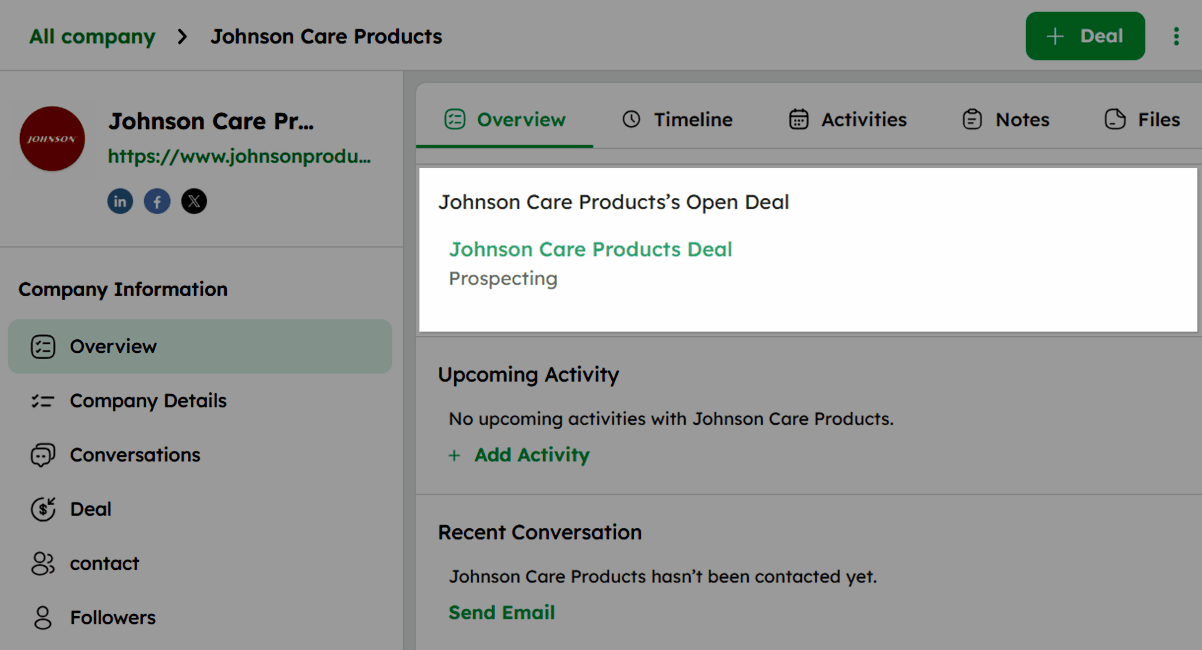
- In the Open Deals section, view the deals currently linked to the company. Click +Deal at the top-right to add a deal if none exists.
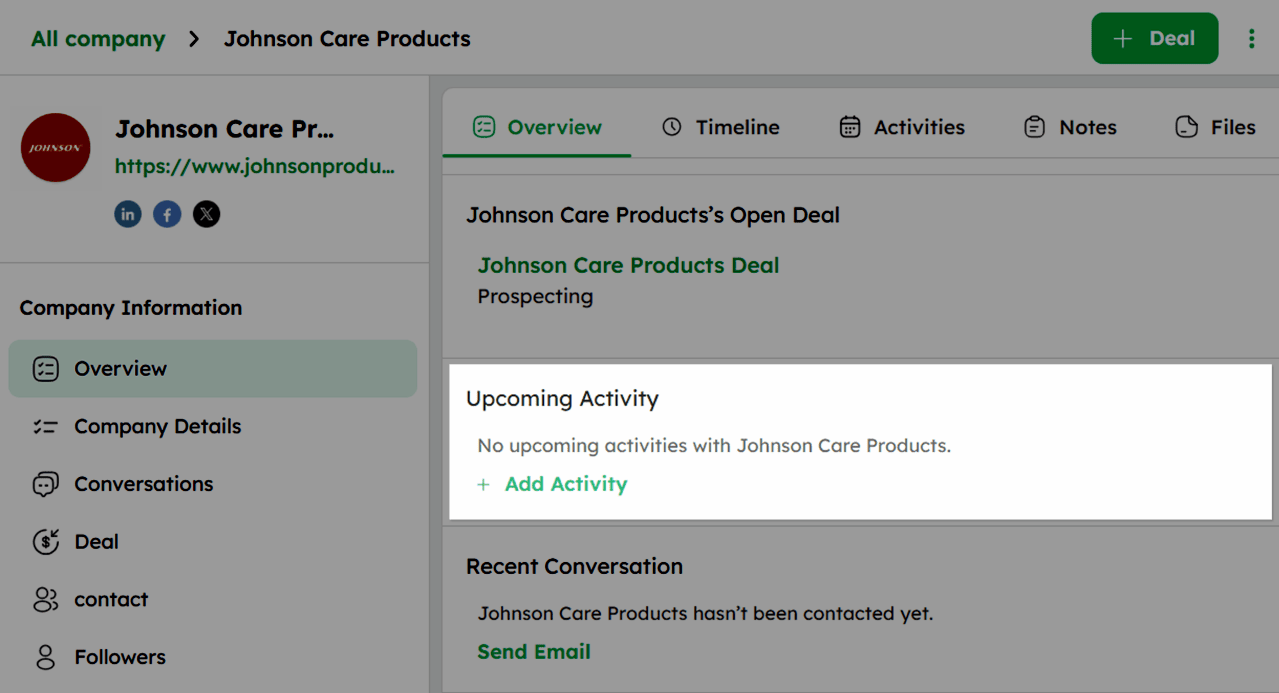
- In the Upcoming Activity section, view scheduled activities for the company. Click +Add Activity to schedule an activity if none exists .
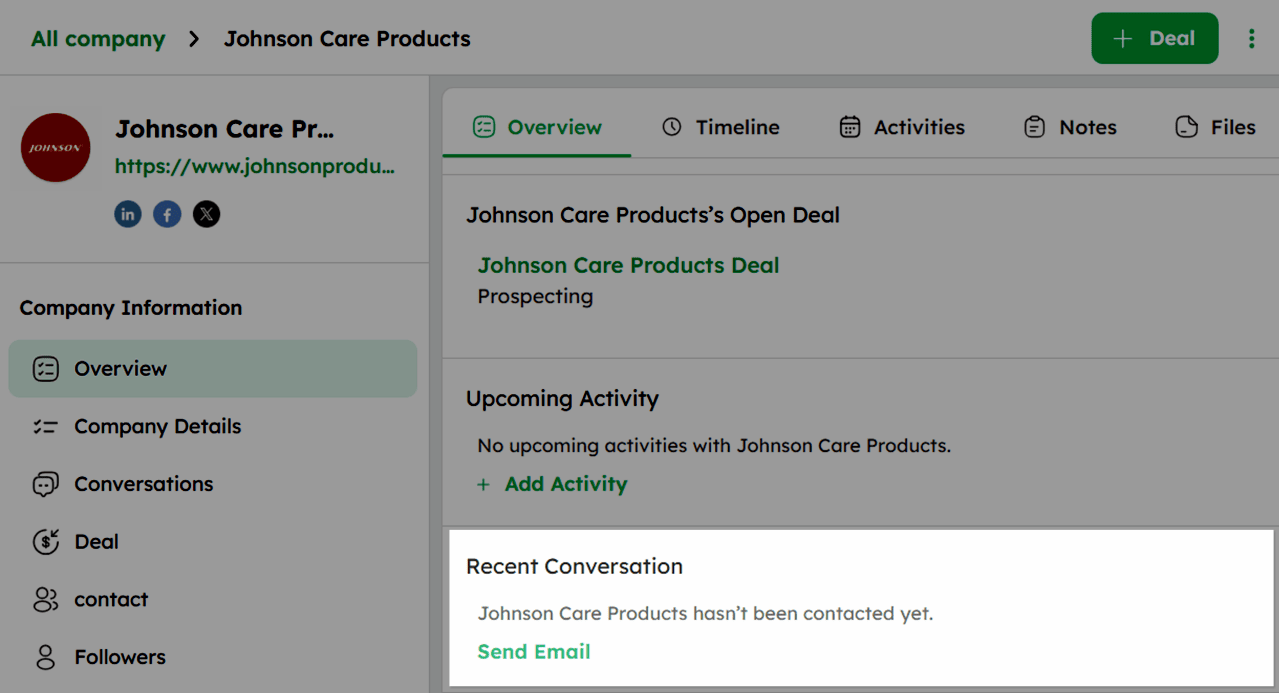
- In the Recent Conversation section, view the latest email interaction with the company. Click Send Email to initiate contact if the company has not been contacted yet.
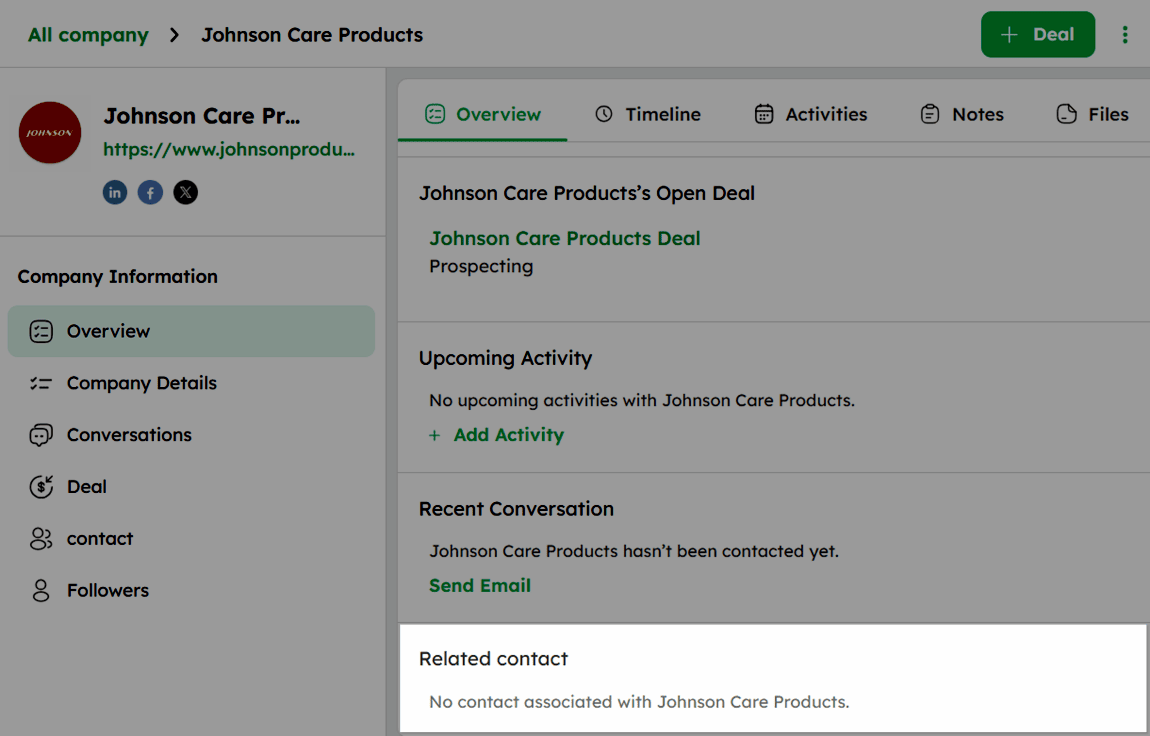
- In the Related Contacts section, view contacts associated with the company.
The add option in each section is displayed only when no records are linked. Once a record is added, the option is no longer shown.
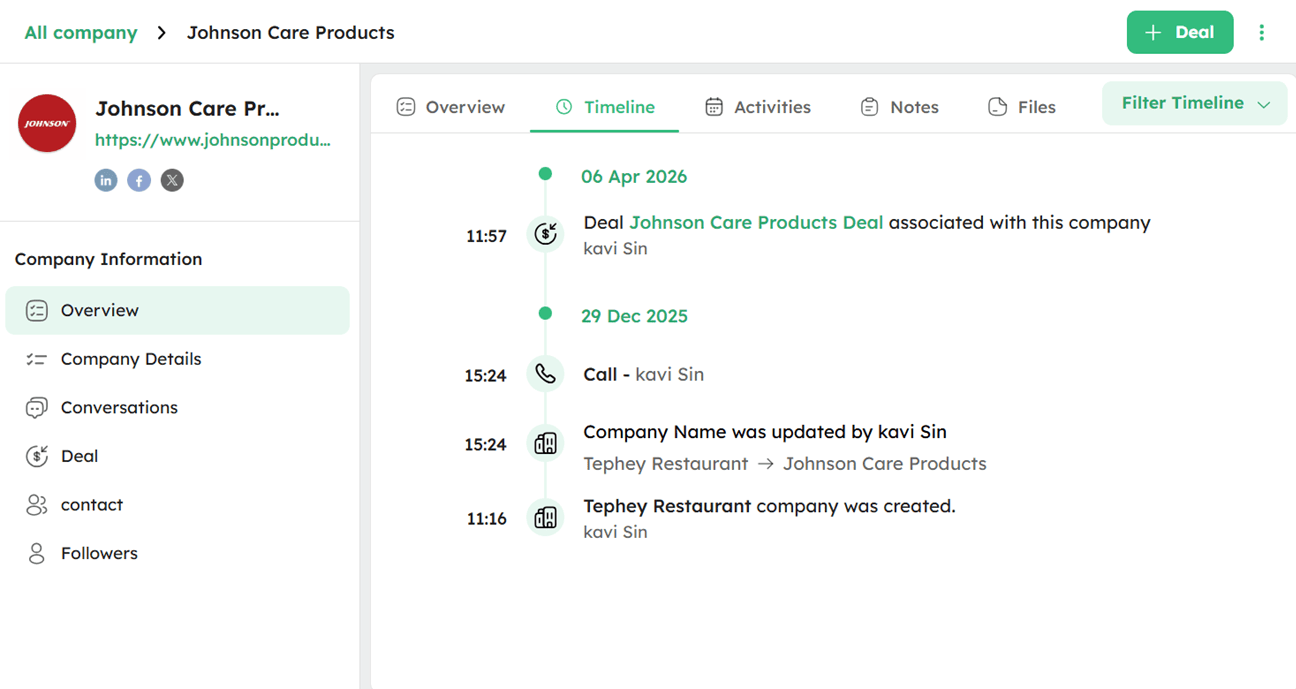
Company Timeline
The Timeline tab keeps a date-wise log of all activities, emails, notes, and updates linked to the company.
- Click the Timeline tab in the Overview section to view all interactions and updates grouped by date.x`
-
Click the Filter Timeline at the top-right to filter by specific update types.
-
Select one or more of the following filter options: Calls, Emails, Notes, Activities, Files, Updates.
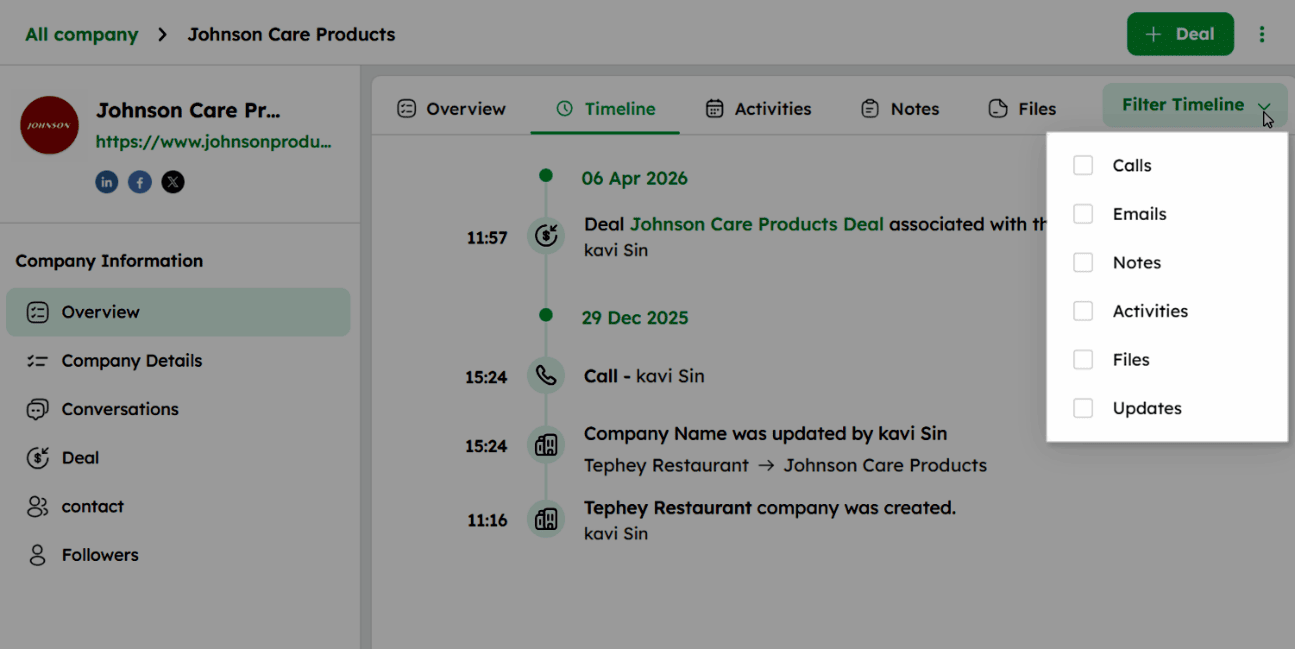
- Select multiple filter options to view related updates together.
Attachment details, drafts, archived items, and scheduled emails are not displayed in the timeline.
The following table lists the activities recorded in the timeline:
| Fields | Definition |
|---|---|
| Company created | Displays when the company was added and the owner responsible for it. |
| Company Name Change | Shows the previous and updated company name along with the owner who made the change. |
| Deal Associated | Captures the name of the deal linked to the company and the owner who associated it. |
| Deal Title Change | Reflects the previous and updated deal title and the owner who made the change. |
| Merge | Indicates when the company was merged with another company record to prevent duplicates. |
| Inbound Mail | Details of emails received from the company's associated contact, including the date, time, and content summary. |
| Outbound Mail | Details of emails sent to the company's associated contact, including the date, time, and content summary. |
| Call Failed | Records of calls that failed to connect, highlighted in red, including the date and time of the attempt. |
| Voice Note | Details of voice messages left by the contact, including the dates and content summaries. |
| Call Record | Audio recordings of phone calls with the contact, including date, time, and call duration. |
| Call Logged | Details of phone calls made or received, including the dates and conversation summaries. |
| Email Logged | Records emails sent or received, including the dates and content summaries |
| Deal value updated | Shows the previous and updated deal value along with the owner who made the change. |
| Expected Closing Date Assigned | Reflects the previous and updated closing date along with the owner who made the change. |
| Expected Closing Date Changed | The owner changed the expected close date. |
| Form Submission | Captures when a contact submitted a form, including the page on which it was submitted. |
| File Uploaded | Shows the file attached to the company record and the owner who uploaded it. |
| Note Added | Records when a note was added to the company record. |
| Note Edited | Tracks when an existing note on the company record was updated. |
| Meeting Scheduled | Indicates when a meeting was scheduled and the owner who created it. |
| Activity Title Changed | Shows when the title of an activity was updated and the owner who made the change. |
| Activity Note Added & Edited | Captures when a note was added or updated on an activity. |
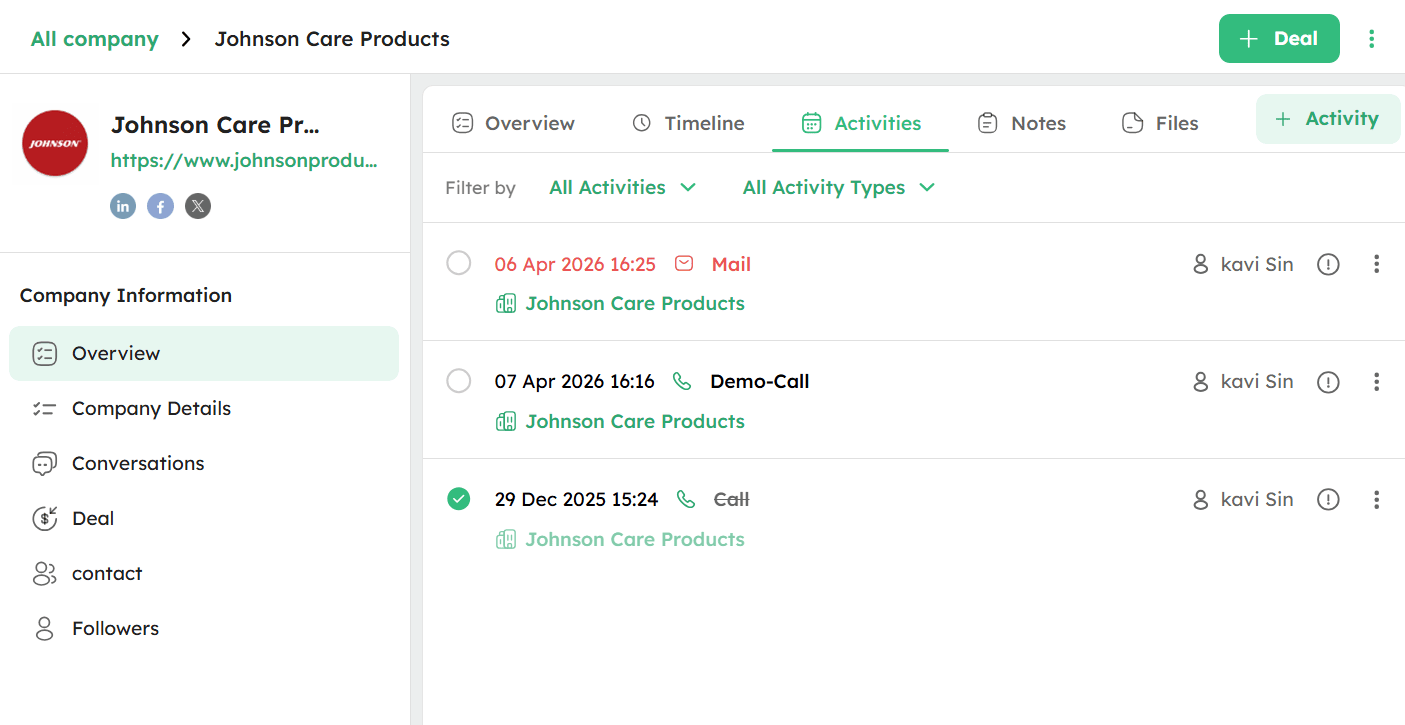
Company Activities
The Activities tab in the Overview section displays all scheduled and completed tasks associated with the company.
How to Use the Activities Tab?
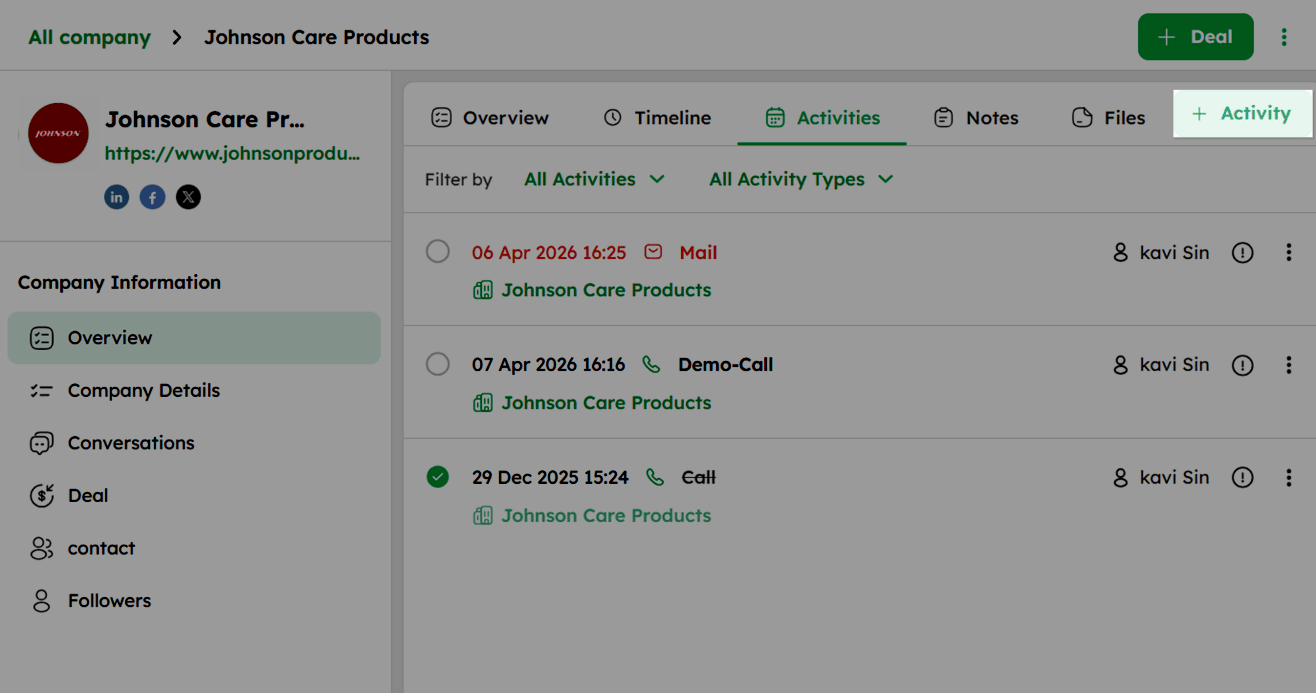
- Click the Activities tab to view scheduled and completed tasks associated with the company.
- Use the Filter by dropdown to filter activities by status: All Activities (Displays tasks in the following order: Overdue, Upcoming, Completed).
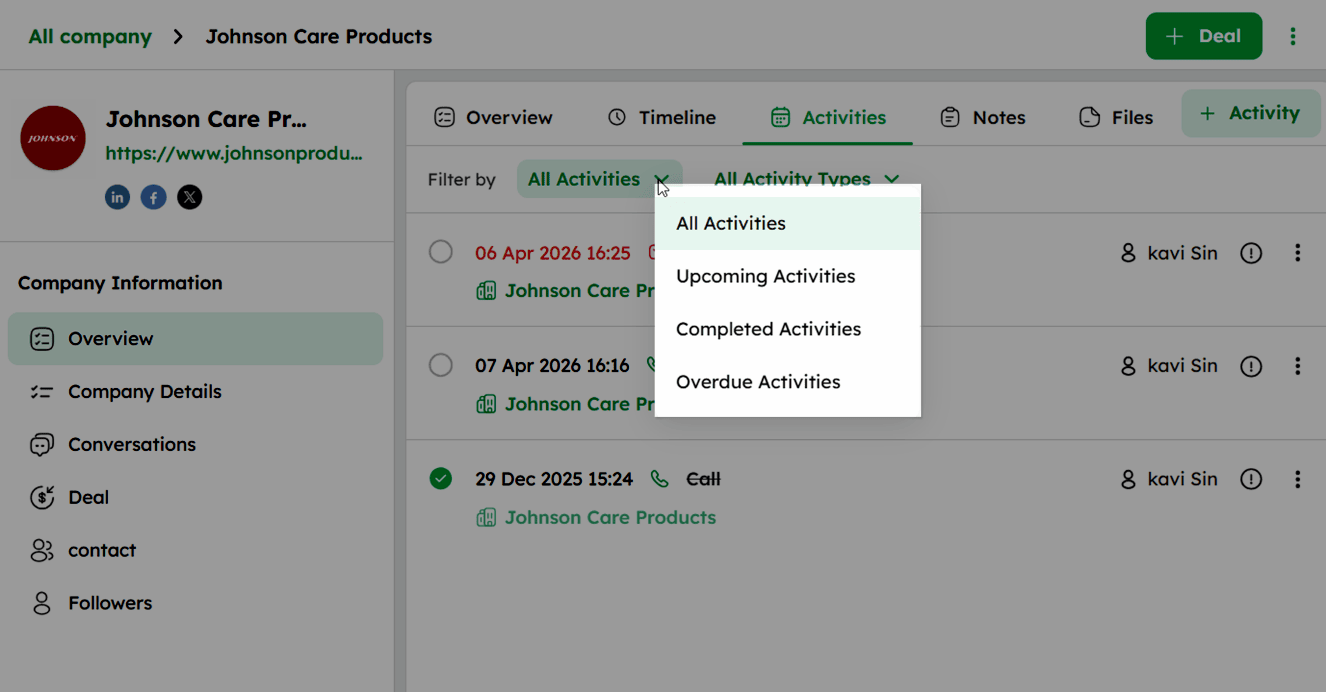
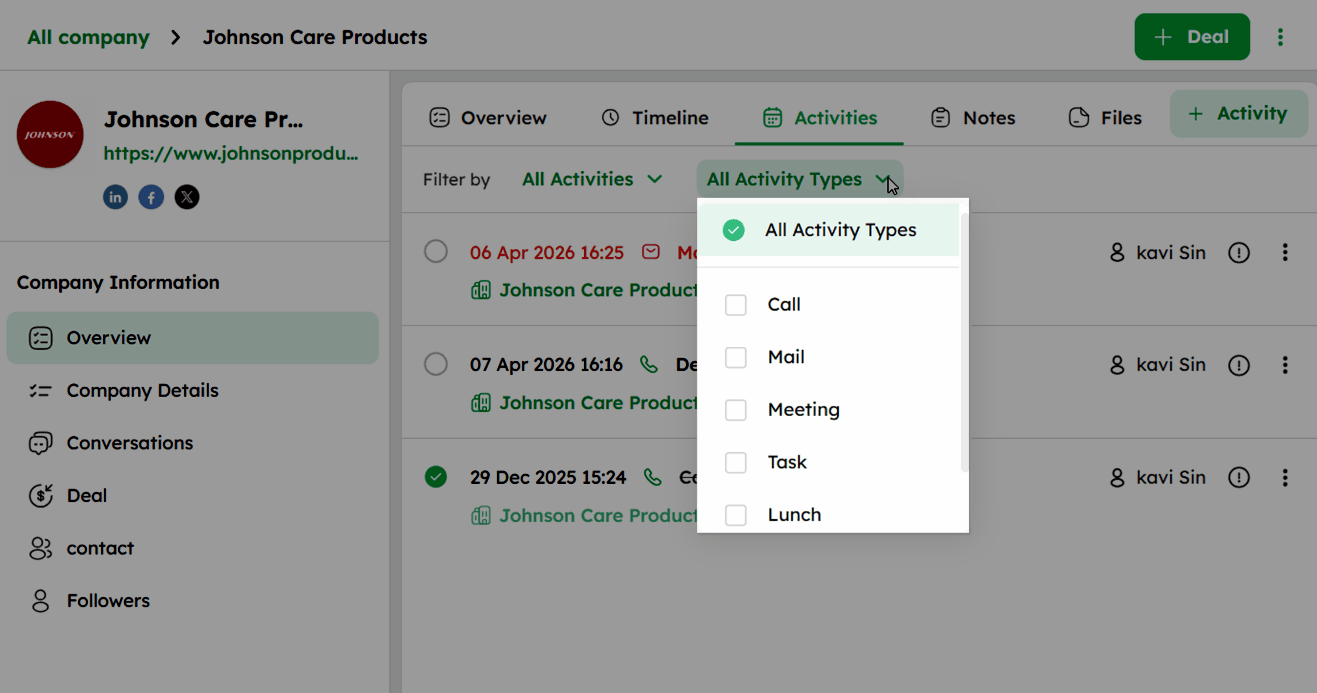
- Use the All Activity Types dropdown to filter activities by type (such as Call, Meeting, Task, or Lunch)
- Click + Activity at the top-right to schedule a new activity.
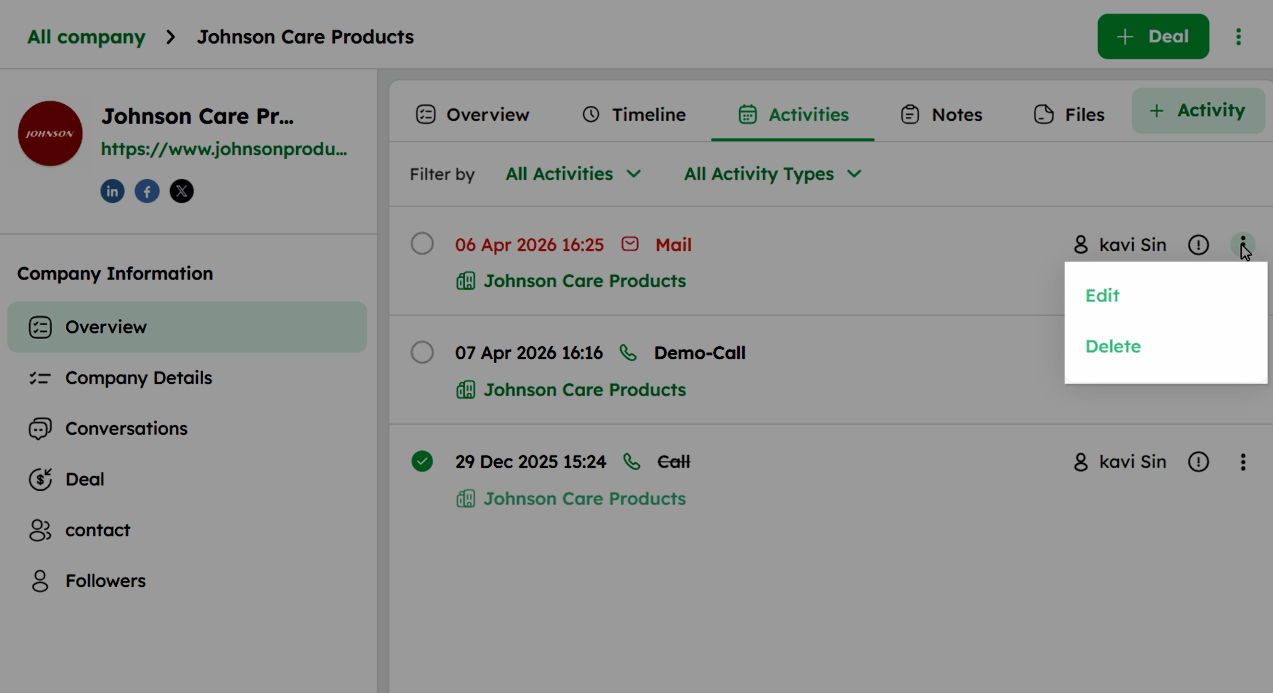
- Click the Info (!) icon next to an activity to view the created date, last modified date, and the owner responsible.

- Click the ellipsis (⁝) icon next to an activity to Edit or Delete it.
Company Notes
The Notes tab allows you to add and manage internal memos related to the company.
-
Click the Notes tab at the top of Overview section.
-
Type directly in the input field to add a note.
- Use @name to mention a teammate - they will receive a notification if they have access to the company record.
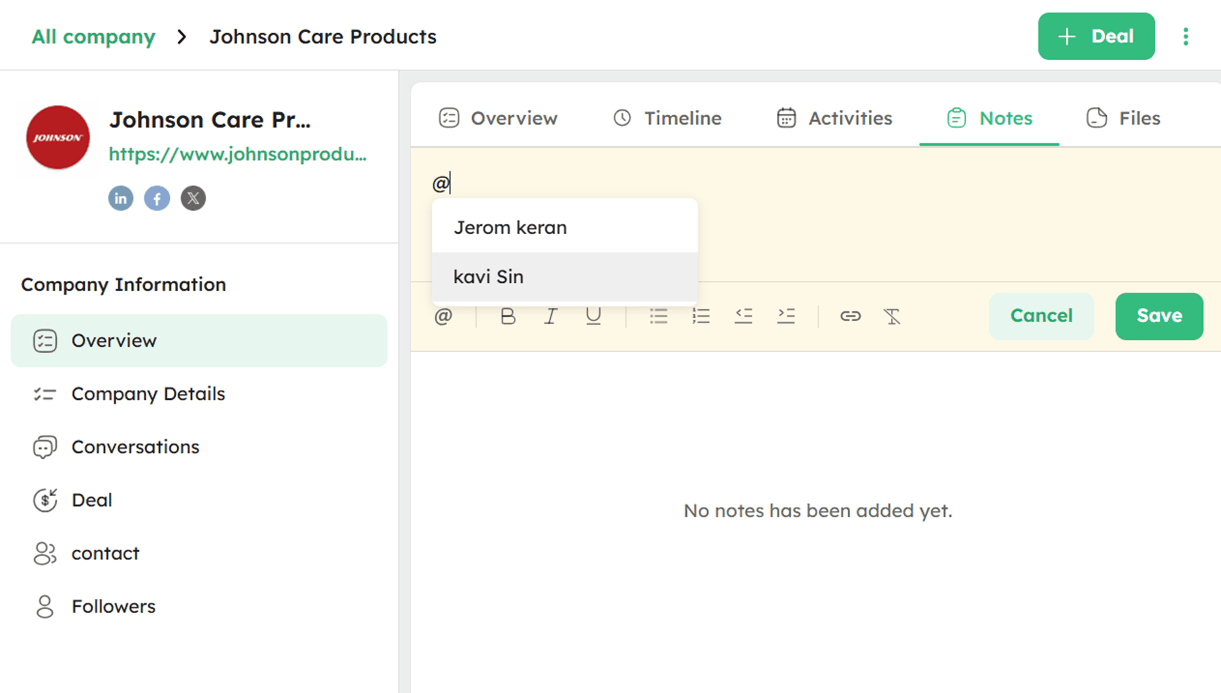
- Use the formatting toolbar to format the note text using options such as Bold, Italic, Underline, lists, or links .
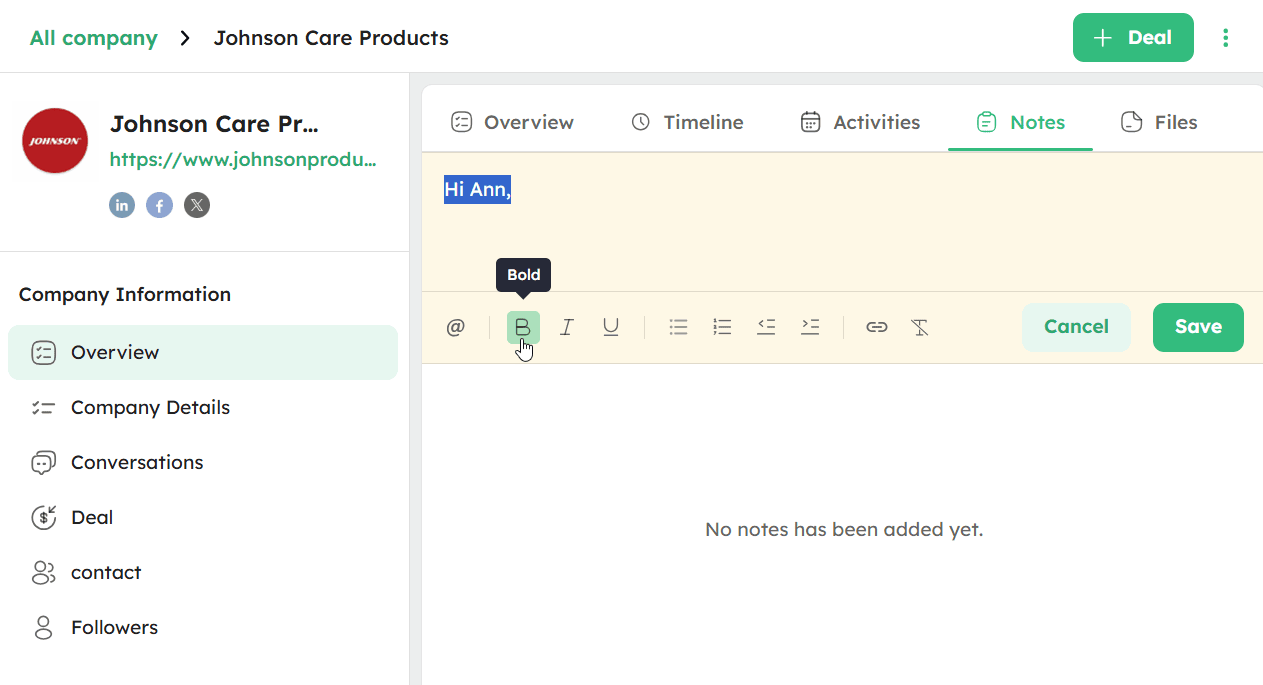
- Click Save to save the note.
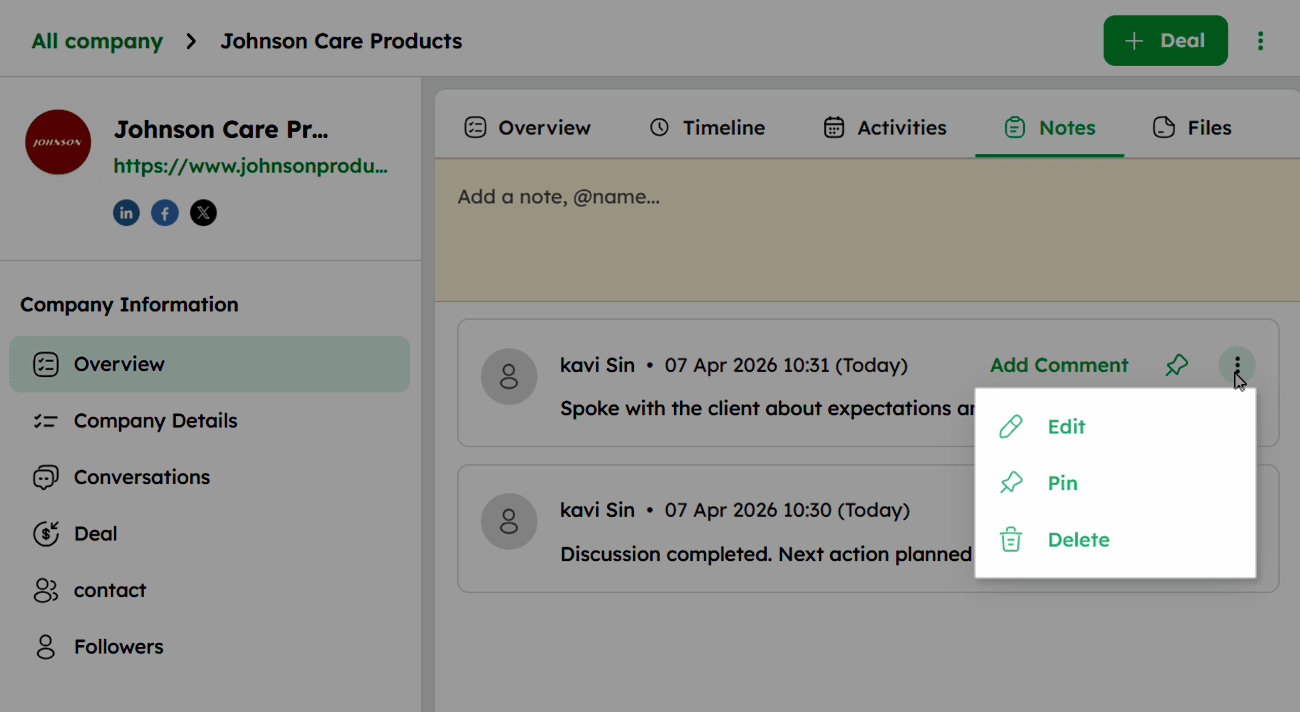
- Click Add Comment on an existing note to add a comment to it.
- Click the ellipsis (⋮) icon on an existing note to Edit, Pin, or Delete it.
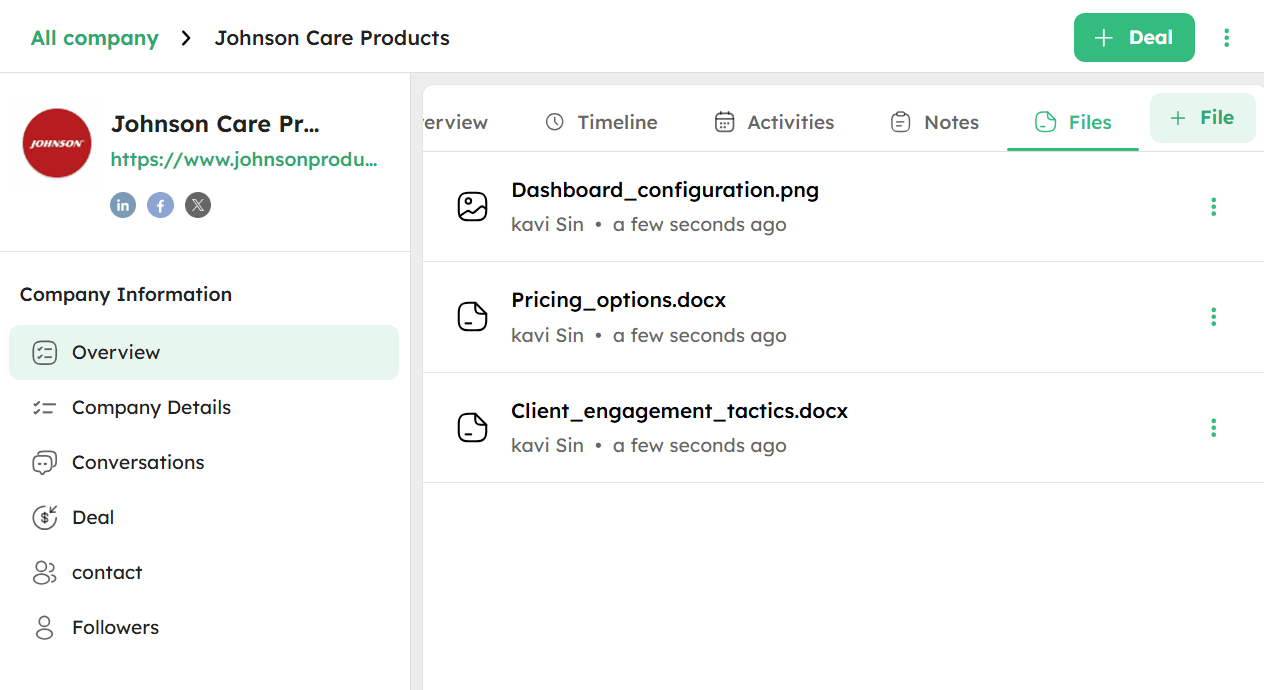
Company Files
The Files tab allows you to upload and manage documents and attachments related to the company.
How to Use the Files Tab?
- Click Files tab from the top of the Overview section.
-
Use the +File option at the top right to upload a file (maximum size 50 MB).
-
You can upload files in the following supported formats: DOCX, DOC, PDF, PPT, PPTX, XLS, CSV, XLSX, TXT, HTML, GIF, JPG, JPEG, and PNG.
-
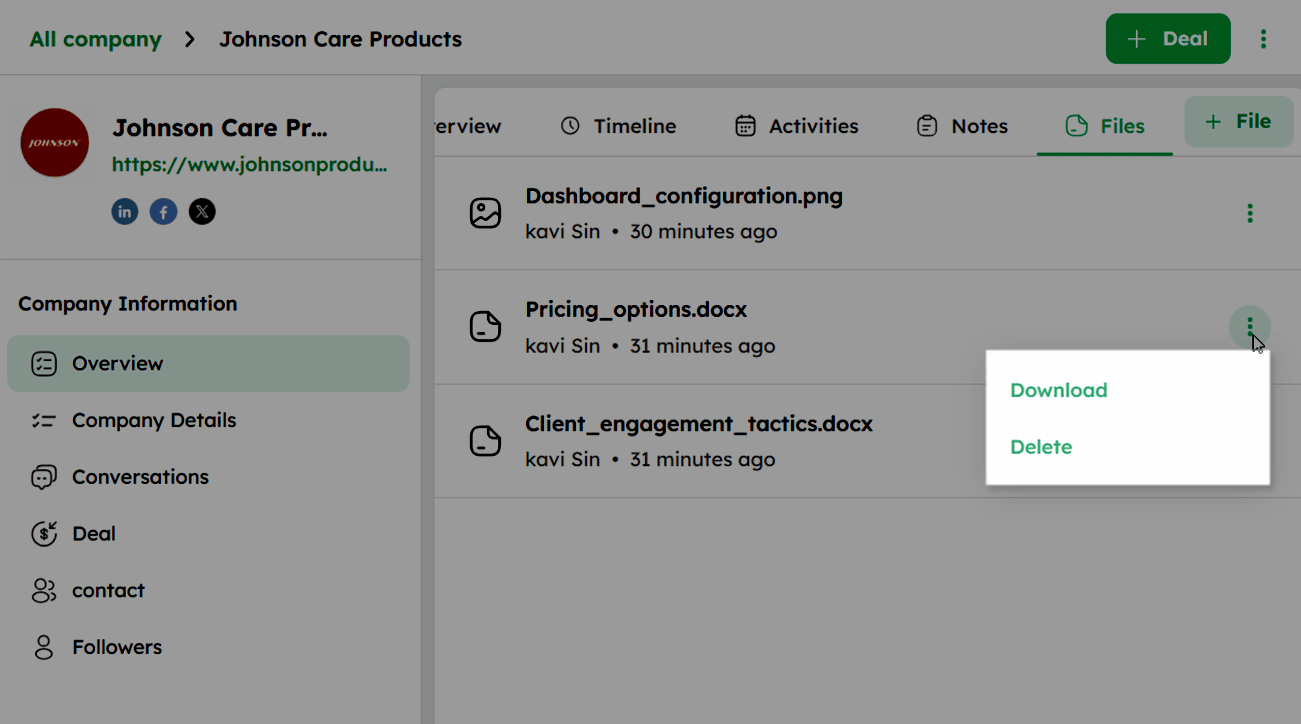
Click the ellipsis (⁝) icon next to a file to Download or Delete the file.
Ensure the file name, including the extension, does not exceed 255 characters.
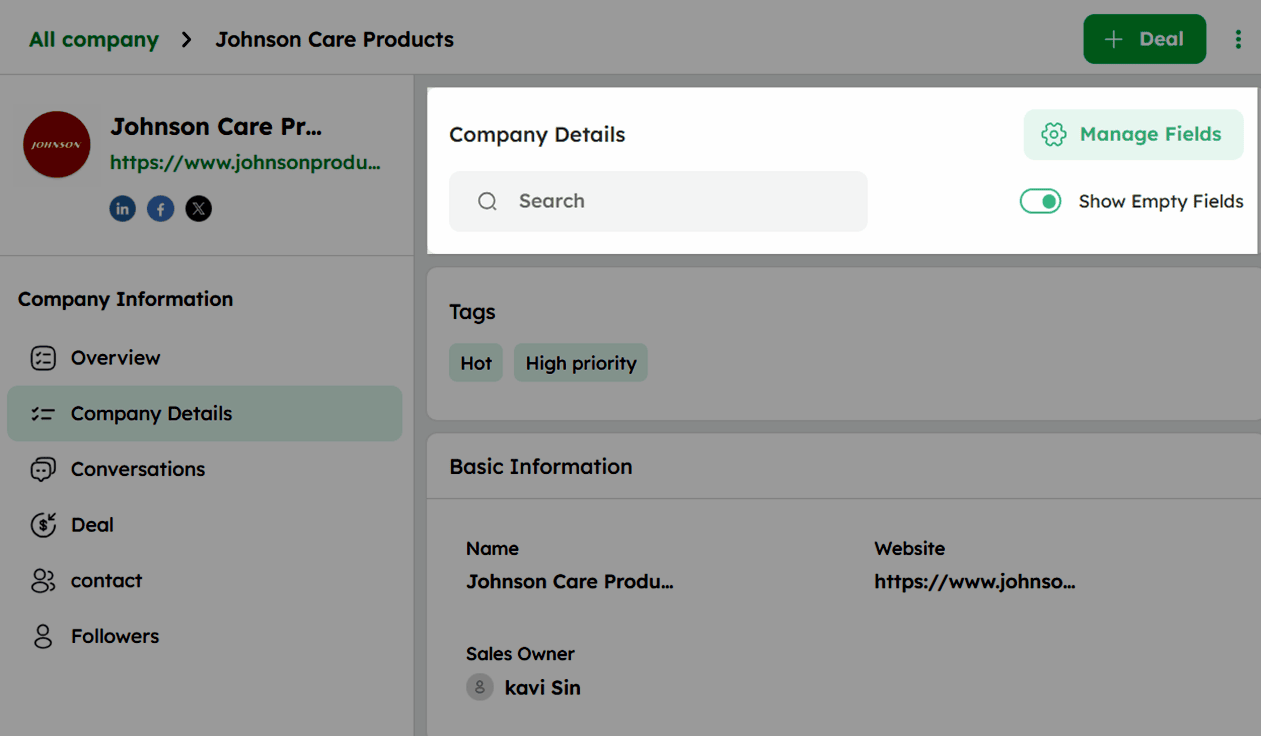
Company Details: View All Fields
All company fields, including system and custom fields, are accessible from the Company Details section.
How to Use the Company Details Section?
- Click Company Details under Company Information in the left panel to view all company fields.
- Use the search bar to find a specific field or value.
- Use the Show Empty Fields toggle to show or hide empty fields.
- Click Manage Fields at the top right to manage the company Data Fields section.
- Add and manage tags in the Tags section to categorize and organize the company.
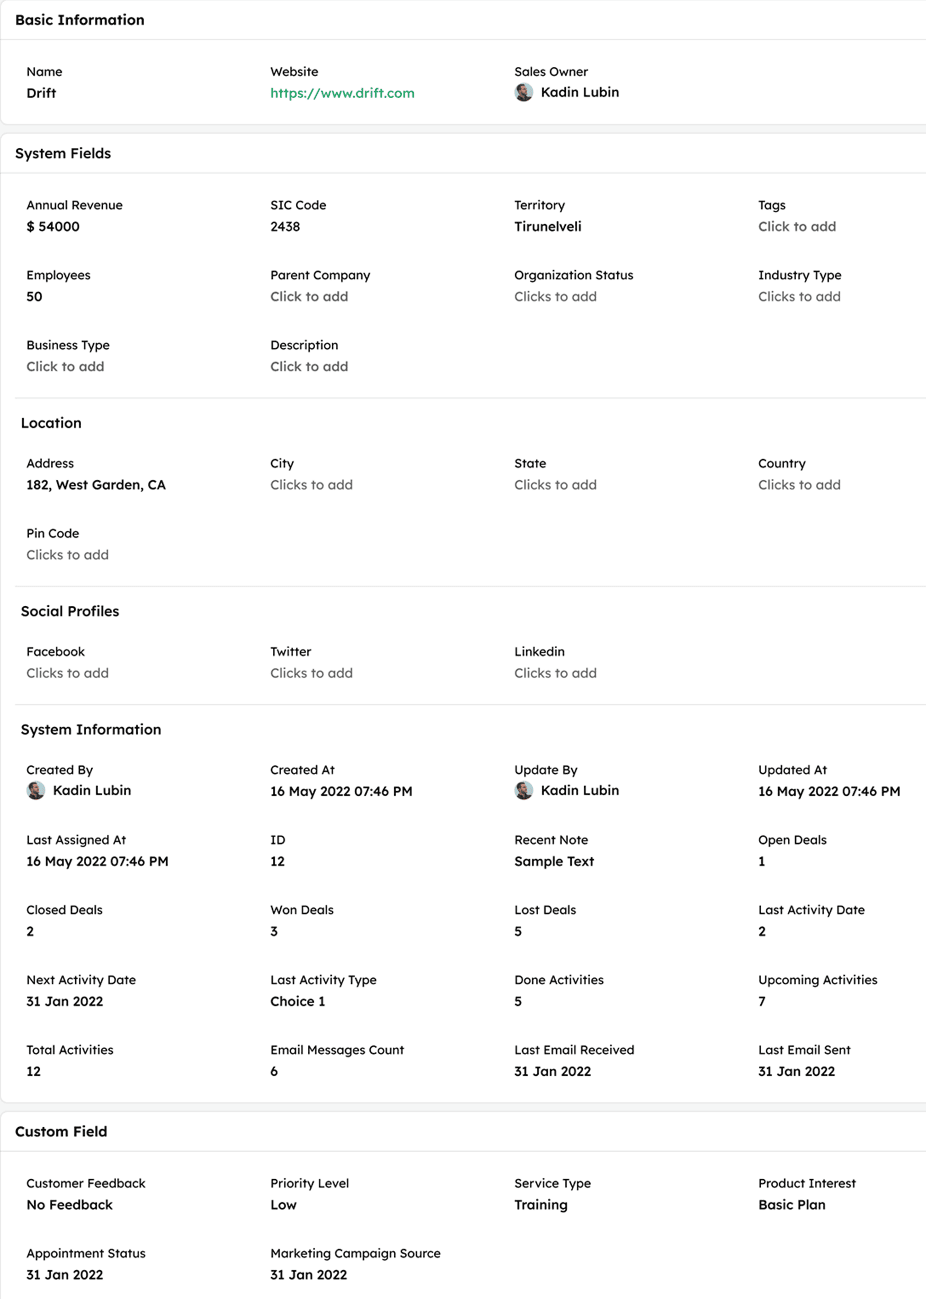
- Field Groups
Fields in the Company Details section are organized into the following groups:
-
Basic Information: Contains key fields such as Name, Website, and Sales Owner.
-
System Fields: Includes pre-built CRM fields such as Parent Company, Annual Revenue, SIC Code, Territory, Employees, Organization Status, Industry Type, Business Type, Description, Tags.
-
Location: Covers address-related fields such as Address, City, State, Country, and Pin Code.
-
Social Profiles: Stores linked social profile fields such as and LinkedIn, Twitter, Facebook.
-
System Information: Captures auto-generated CRM fields such as Created By, Created At, Updated By, Updated At, Last Assigned At, and activity and deal-related metrics.
-
Custom Fields: Lists user-created fields added to the company record.
-
Hover over any fields to reveal the edit icon and click to update.
-
Once updated, click Save to apply the changes.
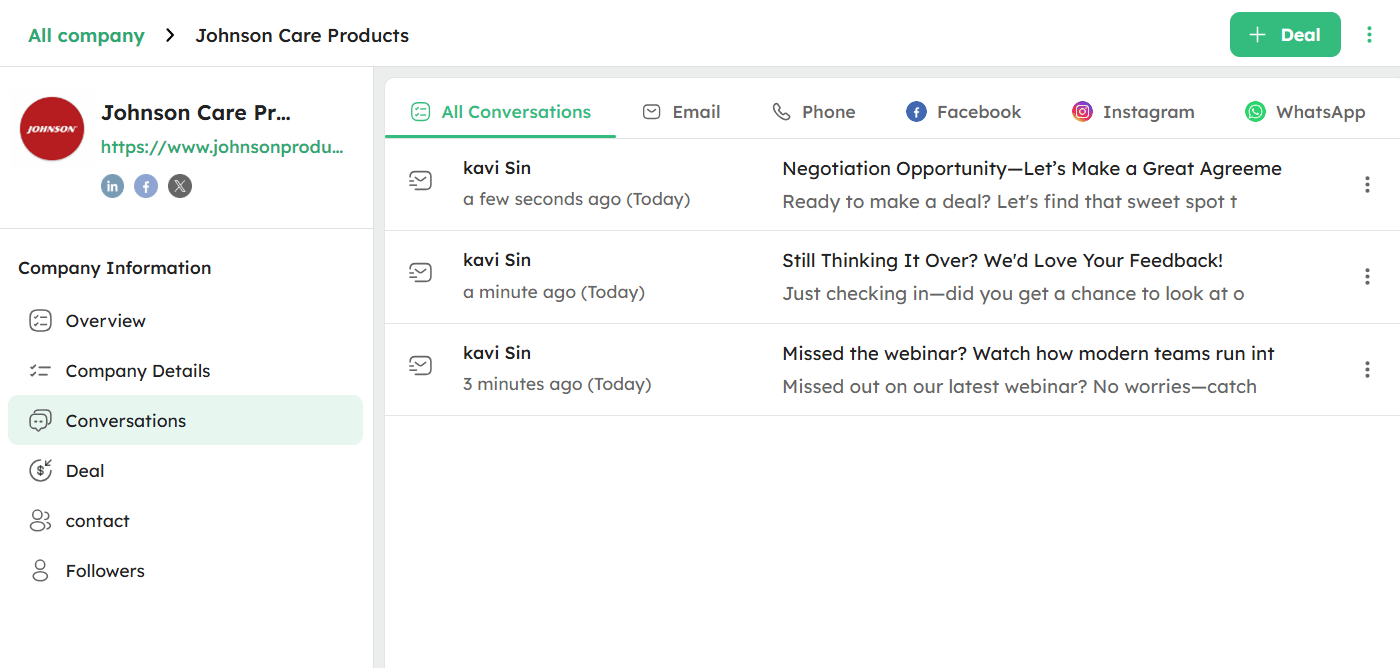
Conversations: Access Email History
The Conversations section displays all communication records linked to a company, including emails, calls, and messages.
How to Use the Conversations Section?
-
Click Conversations in the left panel to view all communication records linked to the company.
-
Use the channel tabs to filter conversations by - All Conversations, Email, Phone, Facebook, Instagram, or WhatsApp.
-
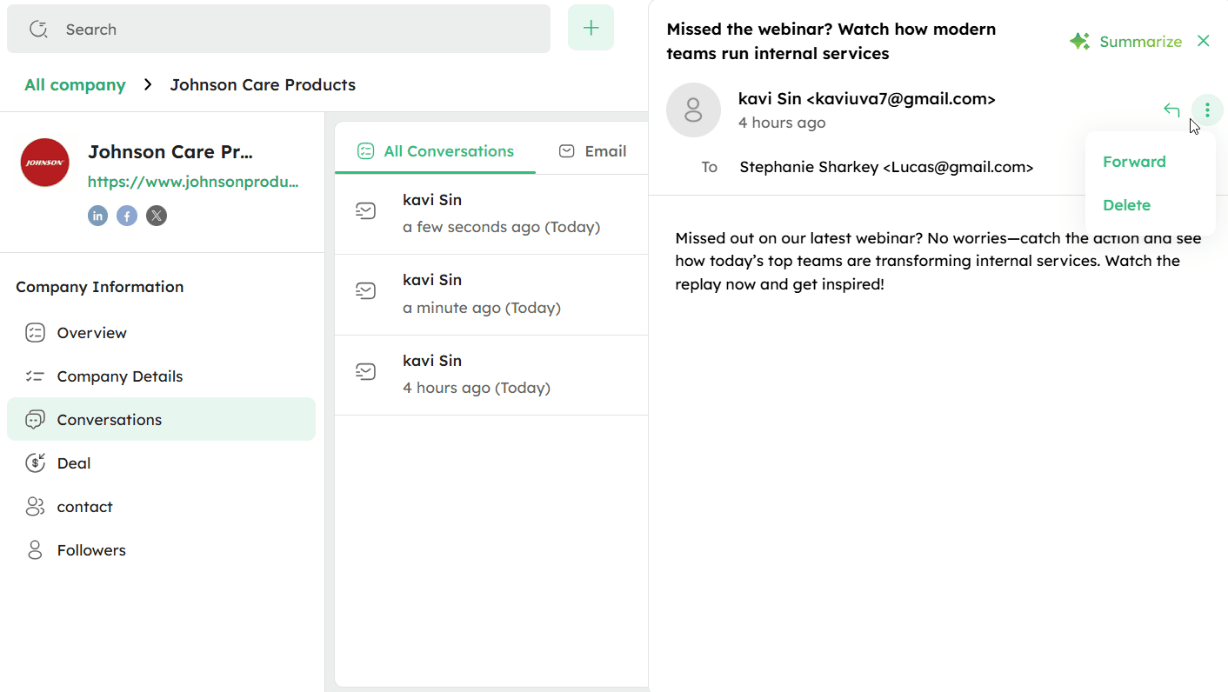
Click any conversation to open and view its full content in the preview panel.
-
In the preview panel, click the ellipsis (⋮) icon to Forward or Delete the conversation.
-
Click the reply icon to reply to the conversation directly from the preview panel.
-
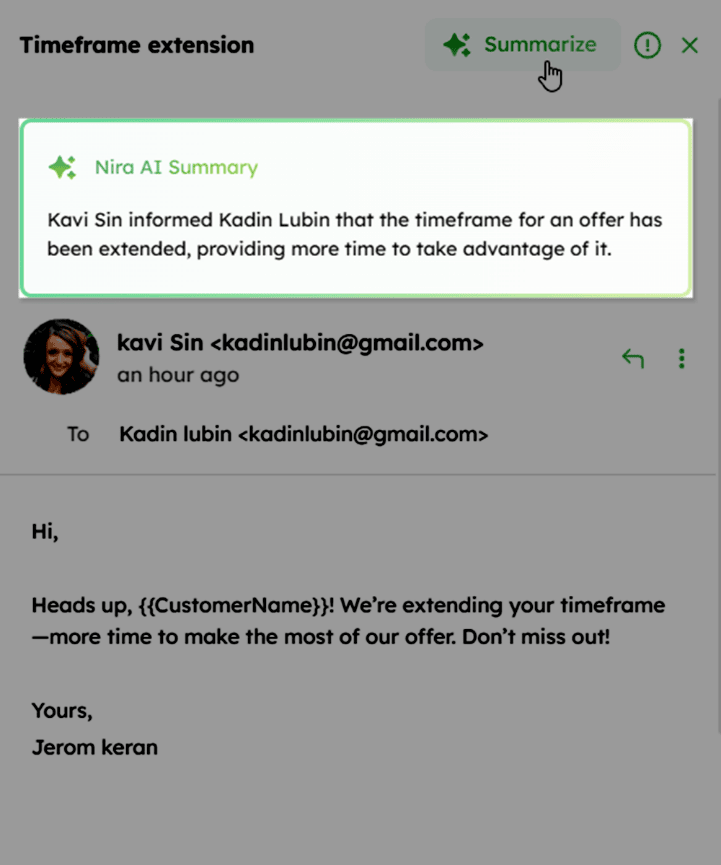
Click Summarize to generate an AI summary of the conversation content.
- Click the ellipsis (⋮) icon next to a conversation in the list to Reply, Forward, Delete, or Unlink this Conversation.
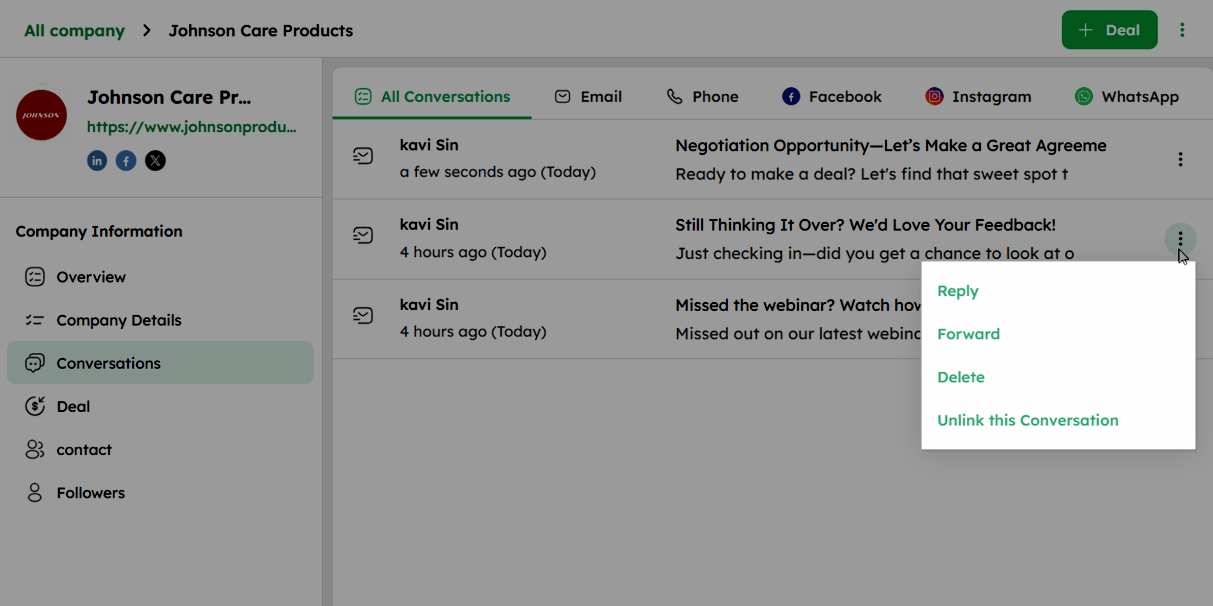
The available actions vary based on the conversation type and its current state - scheduled, draft, received, or sent.
The following table shows the types of conversations linked to the company:
| Fields | Definition |
|---|---|
| Inbound Mail | Details of emails received from the contact associated with the company, including the date, time, and content summary |
| Outbound Mail | Details about emails sent to the contact associated with the company, including the date, time, and content summary. |
| Draft Emails | Emails that are saved as drafts, indicated with Draft in brackets, showing the subject and body. |
| Scheduled Emails | Emails scheduled to be sent later, display the user's name, scheduled send time, subject, and body. |
| Reply Mail | Responses within email threads, marked with Re, and including replies and forwards to or from the contact. |
| Call & Recordings | Phone call details and recordings, including the date, time, duration, and recording playback (if available). |
| Call Logged | Details of phone calls made to or received from the contact, including the date, time, and any associated agenda items. |
Deals Linked to the Company
-
Deals Under the Company Information section in the left panel, click Deal to view all deals associated with the company.
-
The summary at the top displays the total count and value of Open Deals and Won Deals, each with its count and total value.
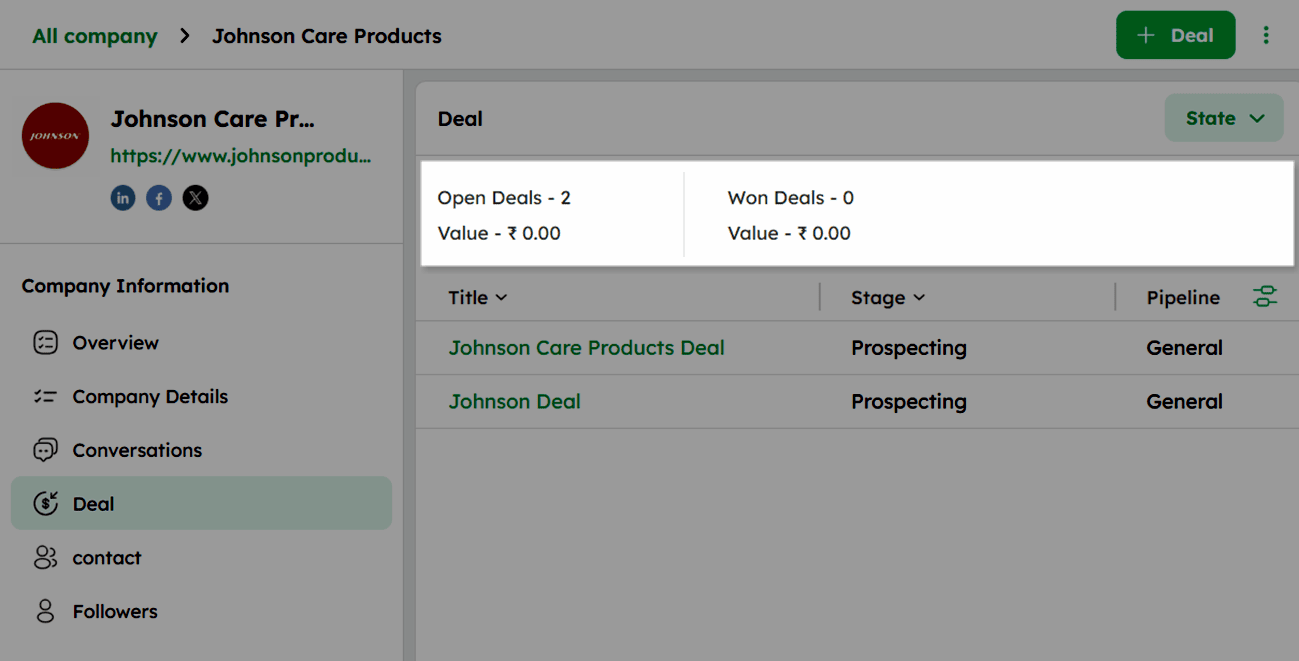
- The deal list shows each deal's Title, Stage, and Pipeline.
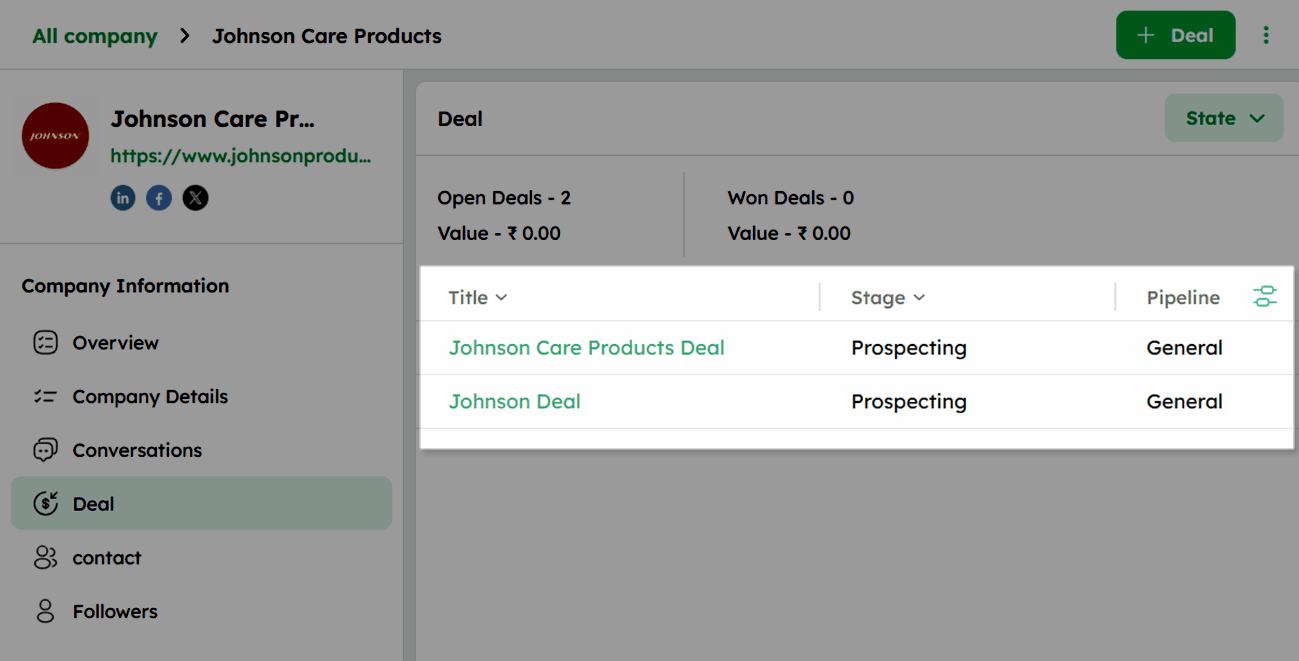
-
Use the column settings icon to customize visible fields in the list.
-
Click the State dropdown at the top-right to filter deals by Open, Won, or Lost.

- Click +Deal at the top-right to add a new deal linked to the company.
- Click any deal title to open its Detail Page.
Deals linked to a company are displayed in the Deal section of the Company Detail Page.
Contacts Linked to the Company
Access and manage all contacts associated with the company from one place.
Managing Contacts in the Company Detail Page
-
Click Contact under Company Information in the left panel to view all contacts associated with the company.
-
The contact list displays each contact's First Name, Emails, and Phones.
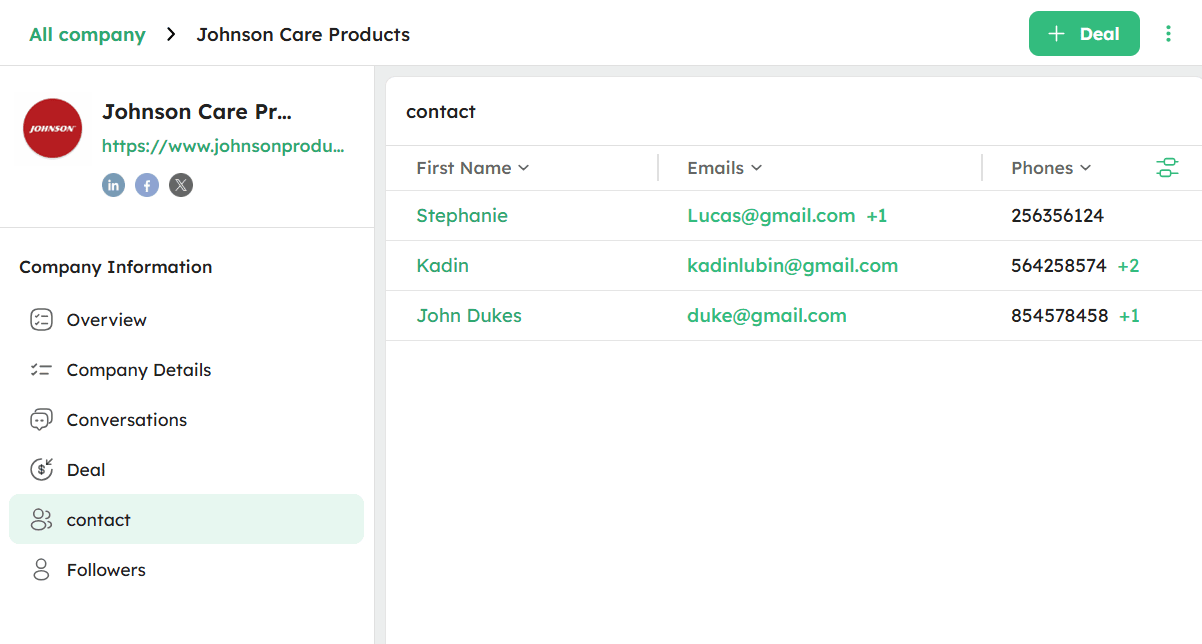
- Click the column settings icon at the top-right of the list to customize the visible columns.
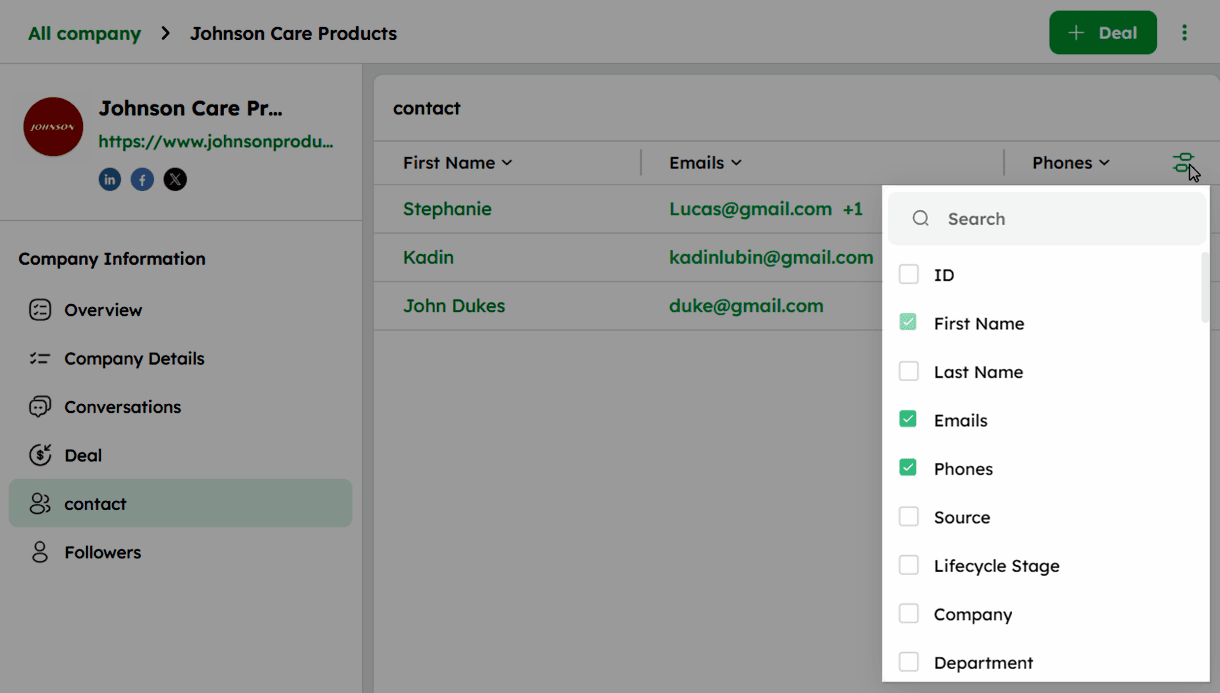
- Click any contact name to open its Detail Page.
Followers Linked to the Company
-
Click Followers under Company Information in the left panel to view all users following the company.
-
The followers list displays each user's Name, Role, Permissions on this source, and Updated At.
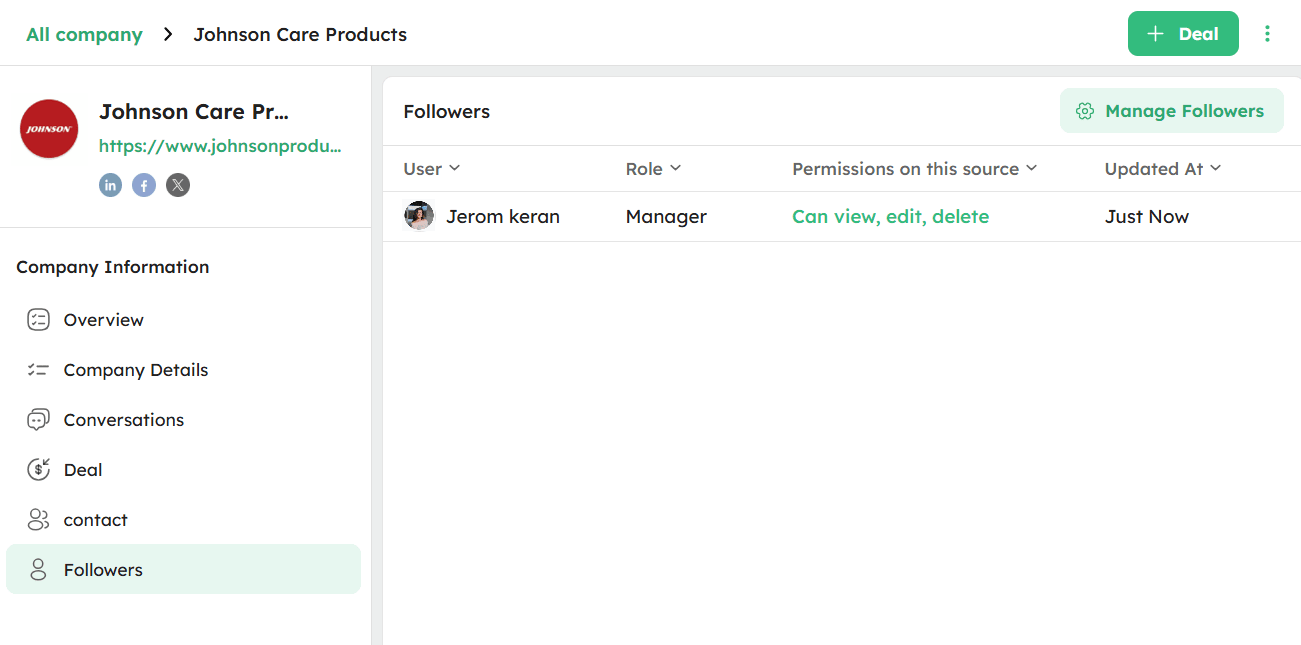
- Click Manage Followers at the top-right to add or remove followers.
Ellipsis Menu in the Company Module
The ellipsis (⋮) icon in the Company Module provides access to additional actions for the company record.
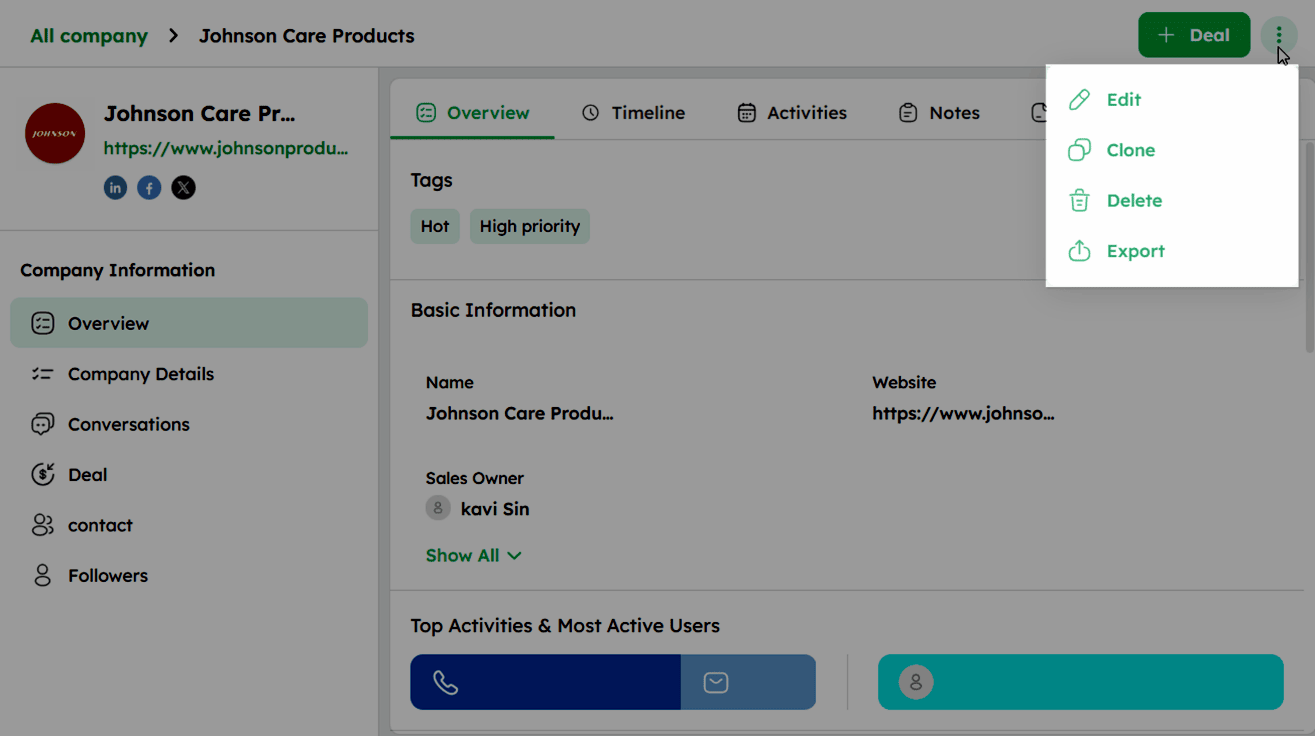
The Twozo ellipsis (⋮) menu includes the following options:
How to Edit a Company Record?
-
Select a company from the list view to open its company detail page.
-
Click the ellipsis (⋮) icon at the top right and select Edit.
- In the Update Company form, update the required fields you want to update.

- Click Update to apply the changes.
How to Clone a Company Record?
-
Select a company from the list view to open its company detail page.
-
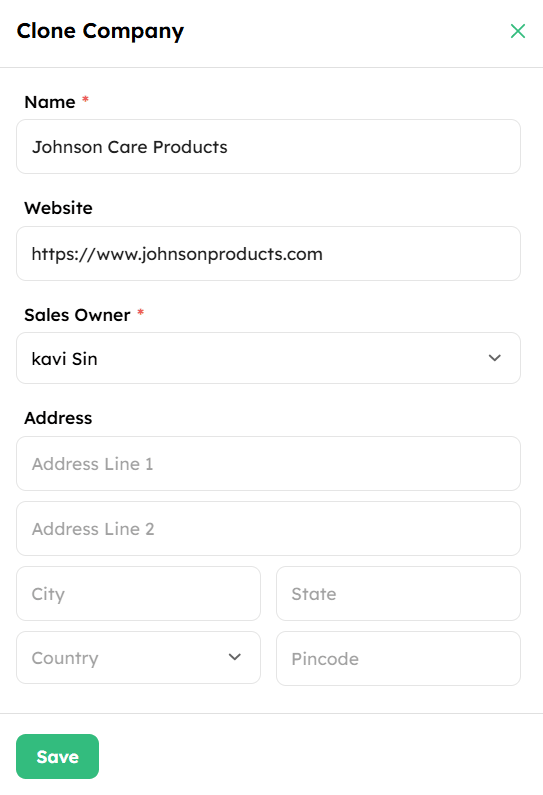
Click the ellipsis (⋮) icon at the top right and select Clone.
- The Clone Company form opens pre-filled with the existing company's details.
-
Review and update the fields as needed.
-
Click Save to create a new company record with the duplicated details.
How to Delete a Company Record?
-
Select a company from the list view to open its company detail page.
-
Click the ellipsis (⋮) icon at the top right and select Delete.
- Click Delete in the confirmation dialog to remove the company record and move it to the Recycle Bin.
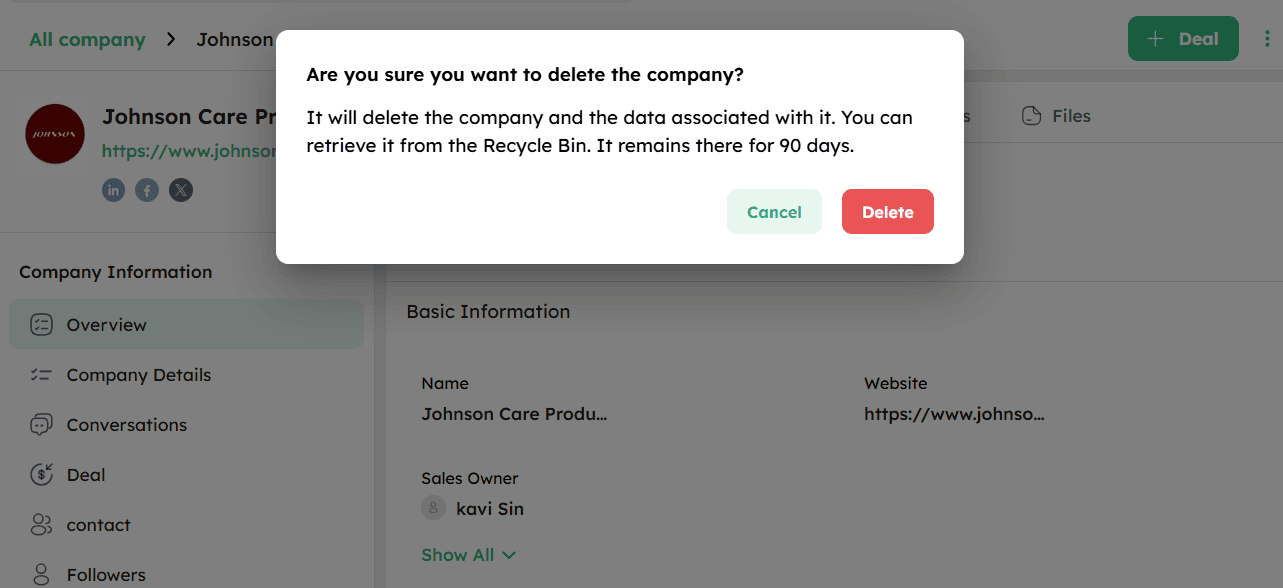
Deleted company records remain in the Recycle Bin for 90 days and can be restored if needed.
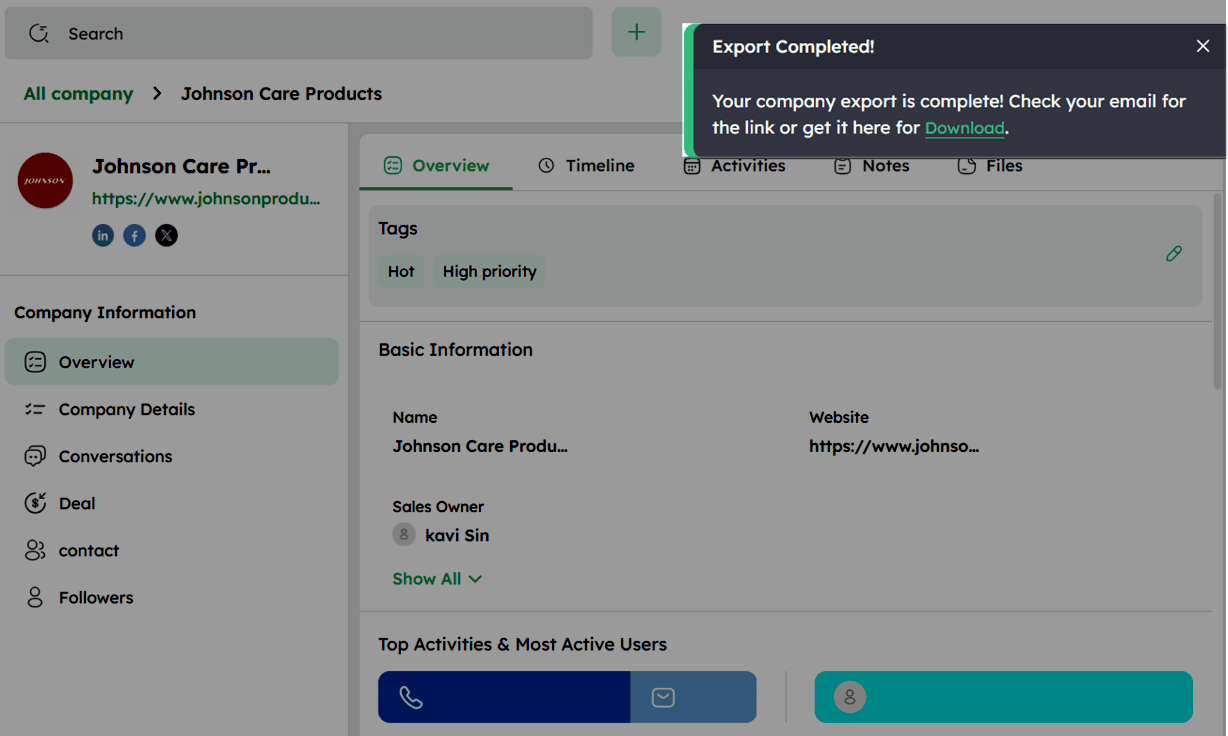
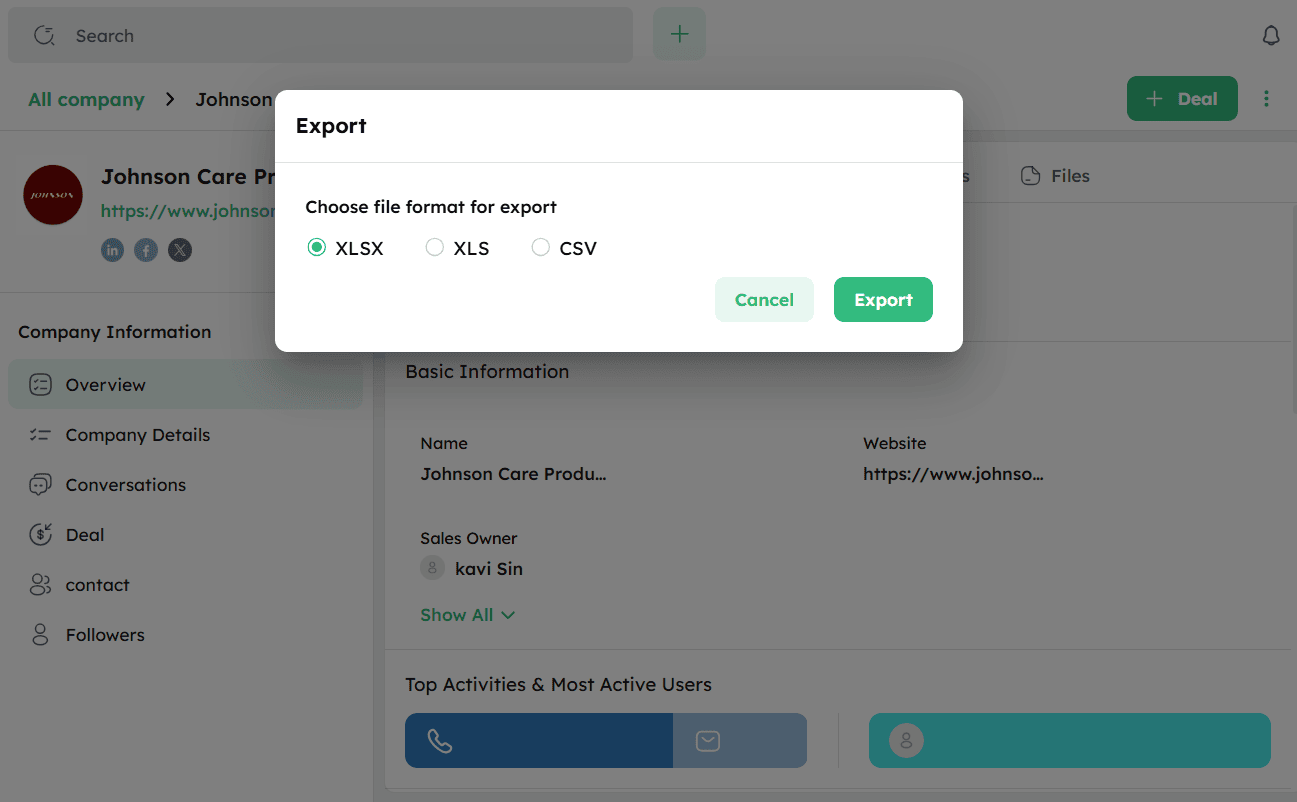
How to Export a Company Record?
-
Select a company from the list view to open its company detail page.
-
Click the ellipsis (⋮) icon at the top right and select Export.
- Select the file format from the available options: XLSX, XLS, or CSV.
-
Click Export to generate the file.
-
Once the export is complete, click Download in the confirmation notification or check your email for the download link.